# Setup Autoreply

<mark style="color:red;">**Note:**</mark> <mark style="color:red;"></mark><mark style="color:red;">You can create multiple</mark> <mark style="color:red;"></mark><mark style="color:red;">**'Autoreply'**</mark> <mark style="color:red;"></mark><mark style="color:red;">items for each WhatsApp number.</mark>

1. Login to your Kuasa account via <https://campaigns.kuasa.io/>.
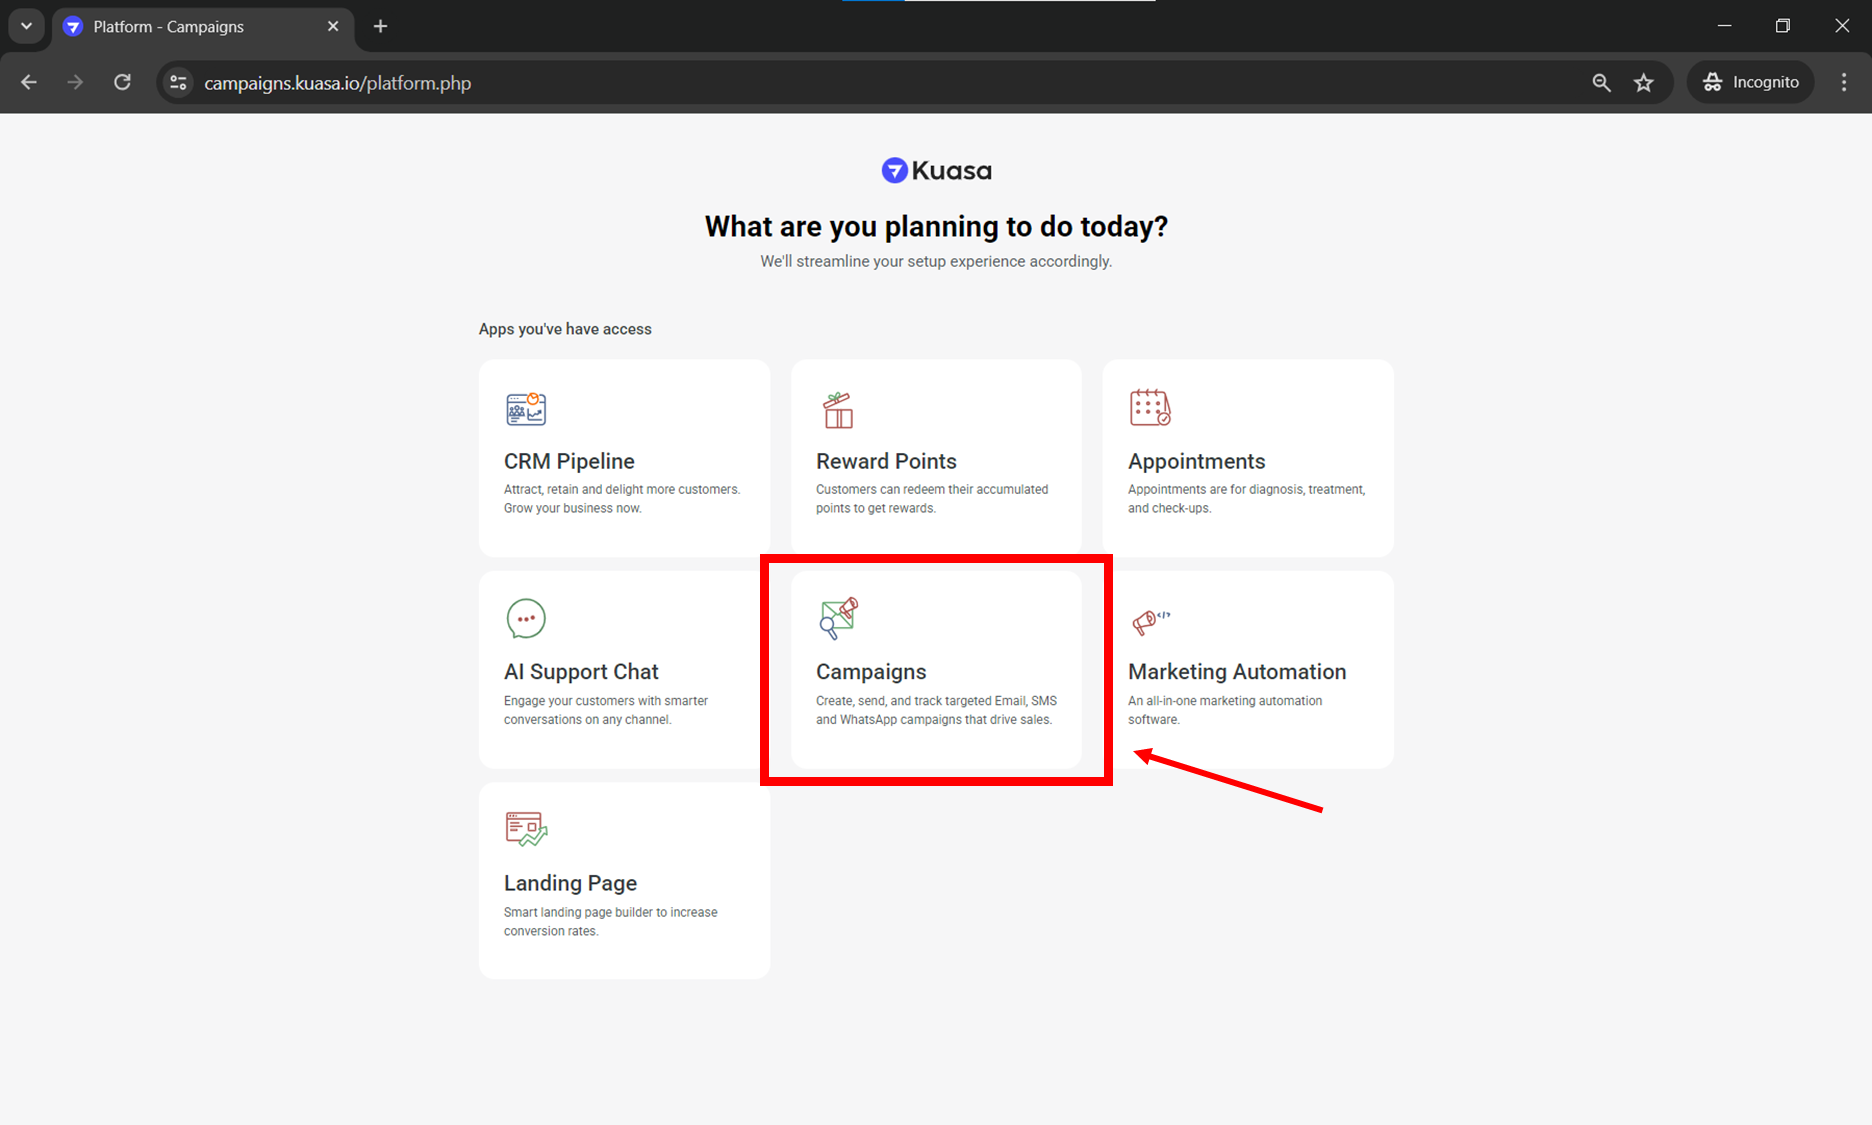
2. Click **Campaigns.**

<figure><img src="/files/IUPIMkd8YuHmSl6XKstM" alt=""><figcaption></figcaption></figure>

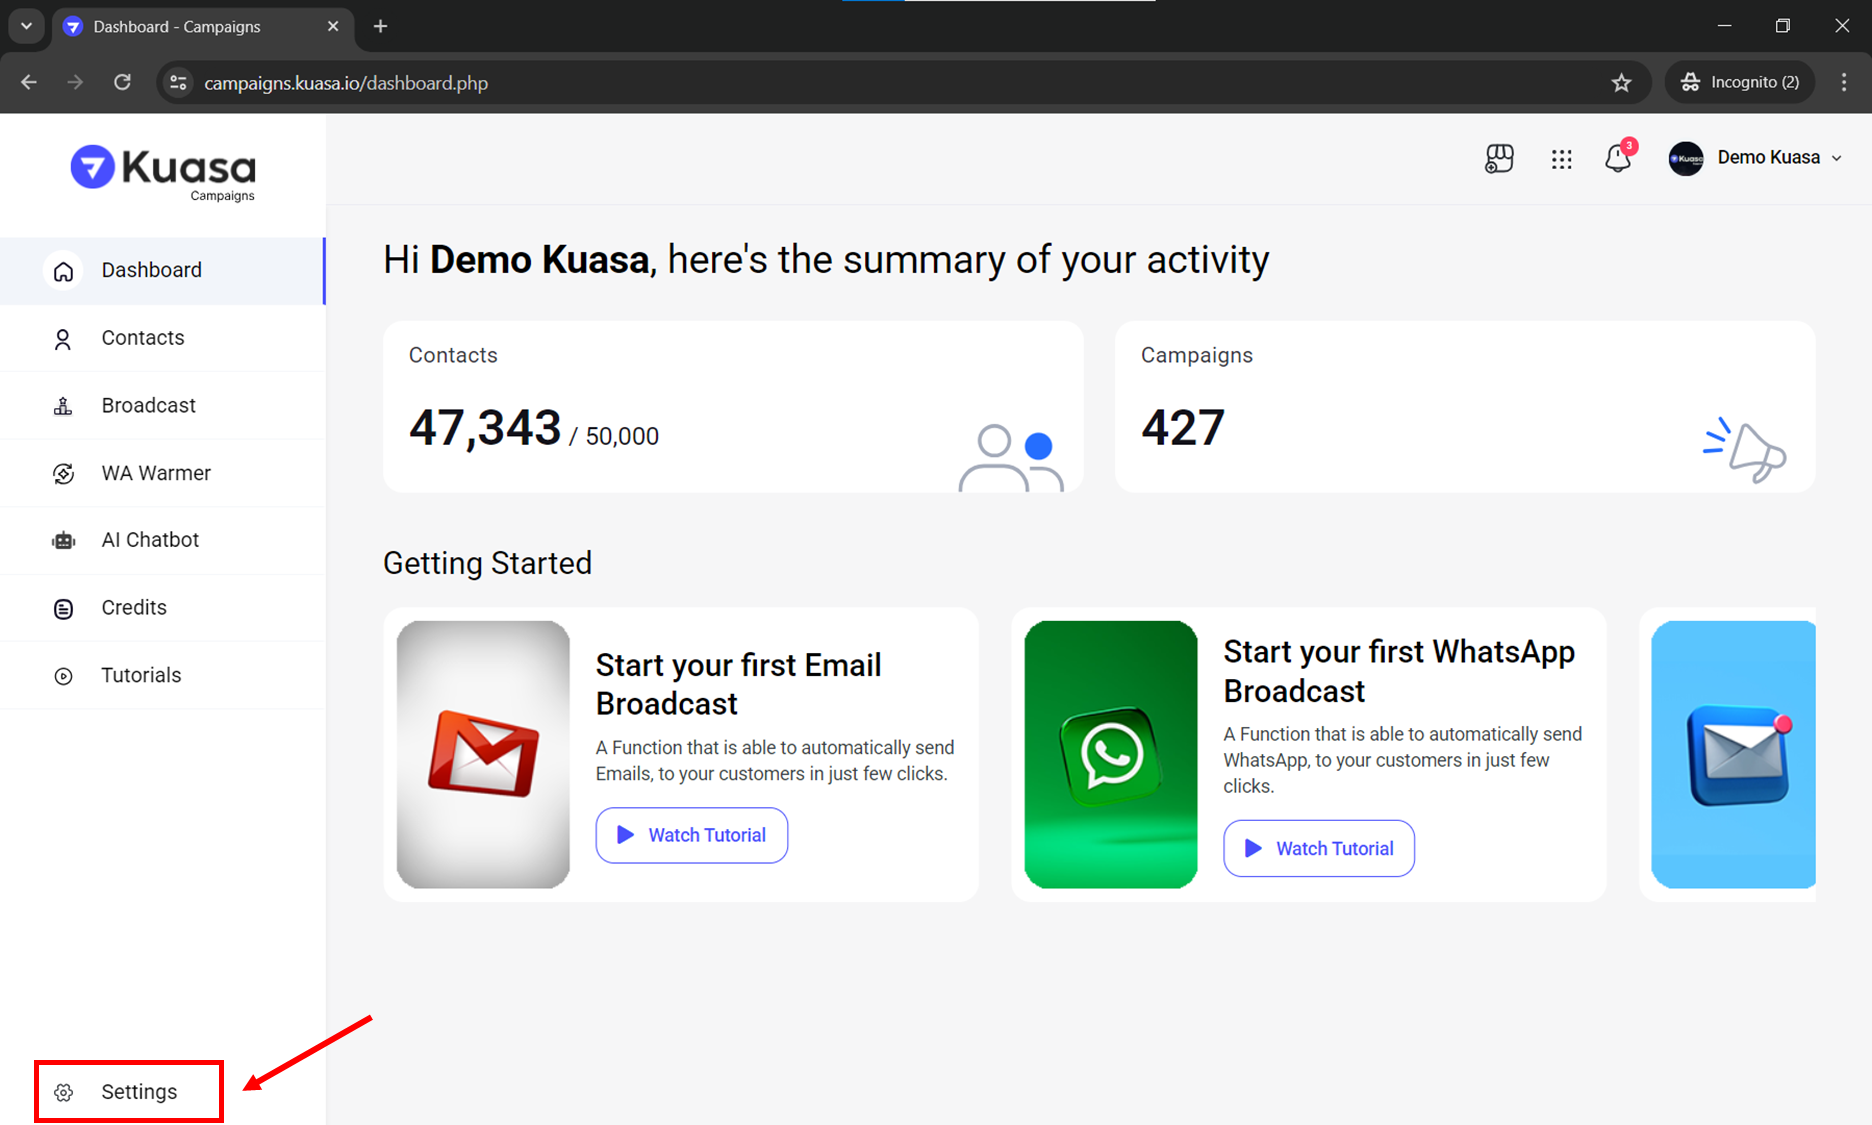
3. Make sure that your WhatsApp device is connected to your Kuasa account. You may check the connection on your device settings.

<figure><img src="/files/JBli01VqXAjgj4nRA4Nb" alt=""><figcaption></figcaption></figure>

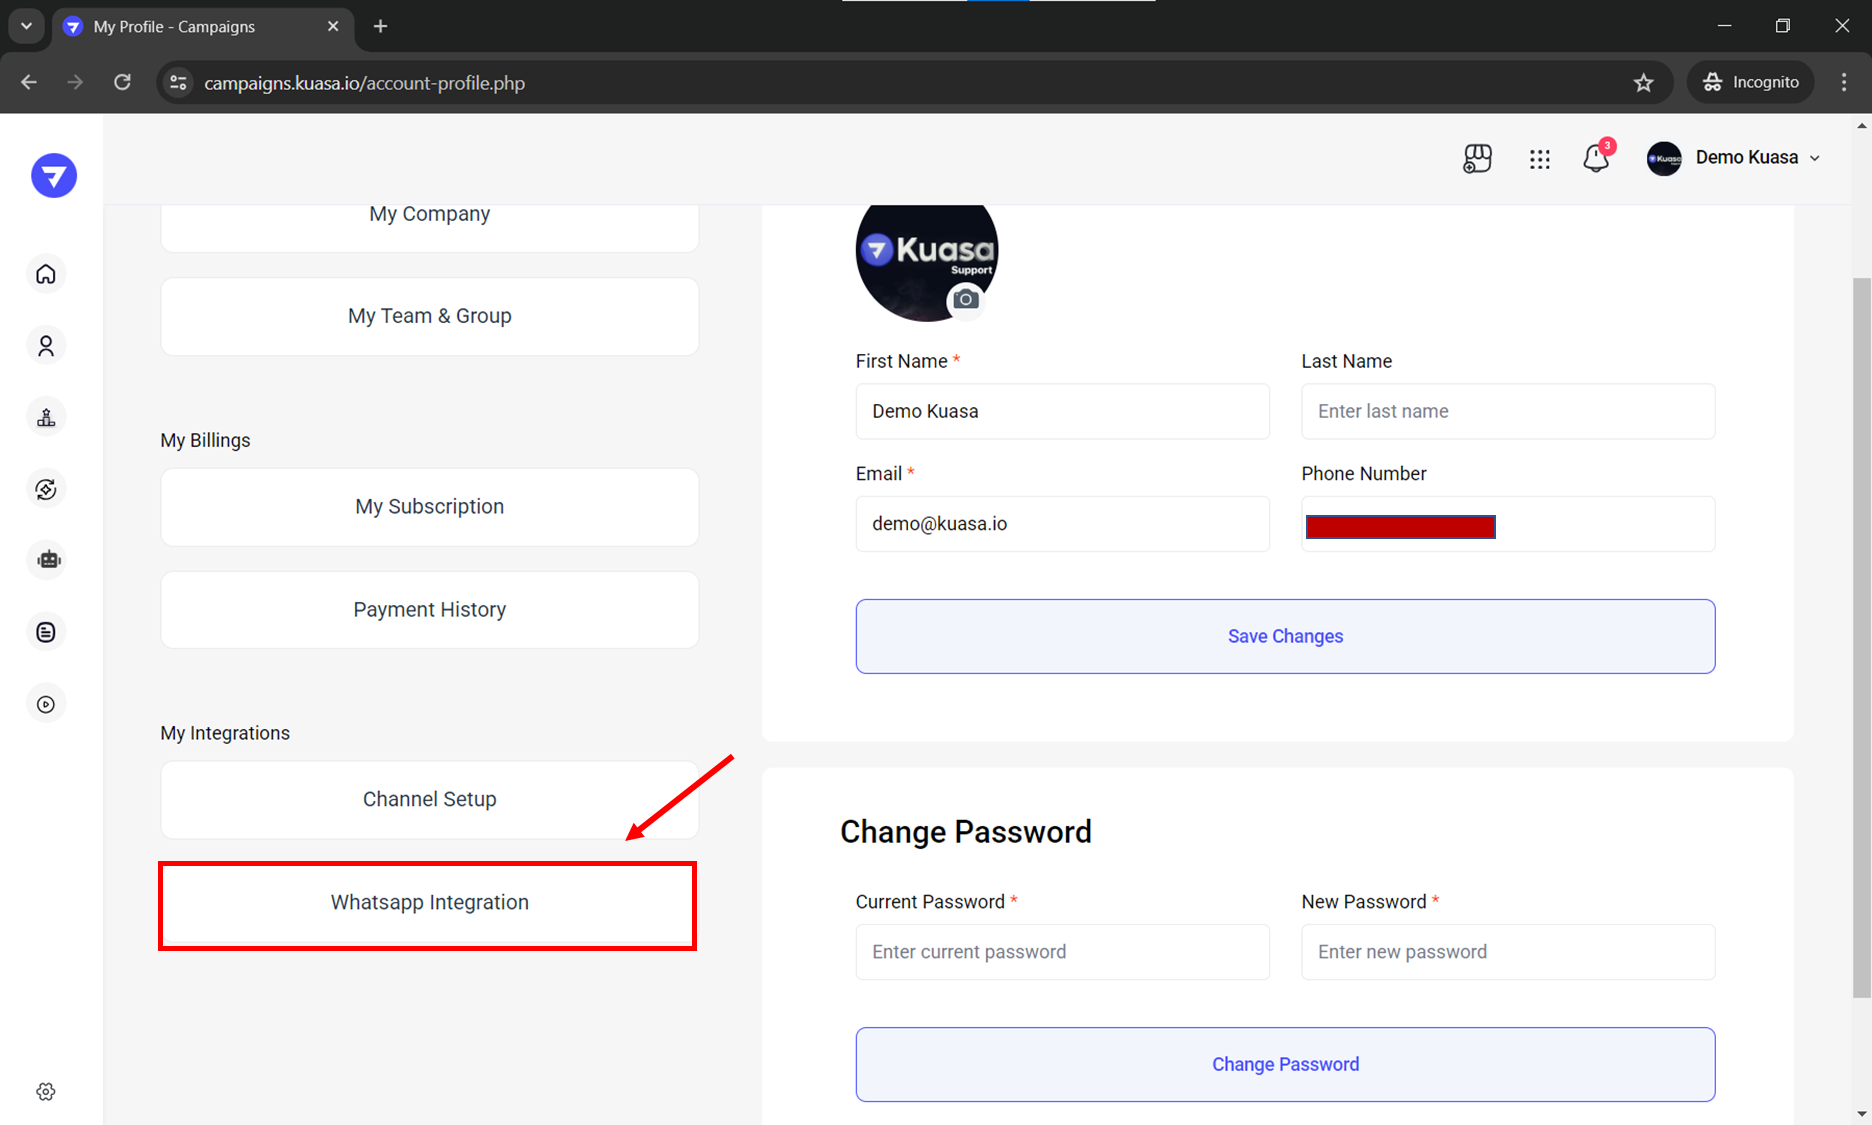
4. Click **WhatsApp Integration**.

<figure><img src="/files/GXrcIlidAOadDK6Elygc" alt=""><figcaption></figcaption></figure>

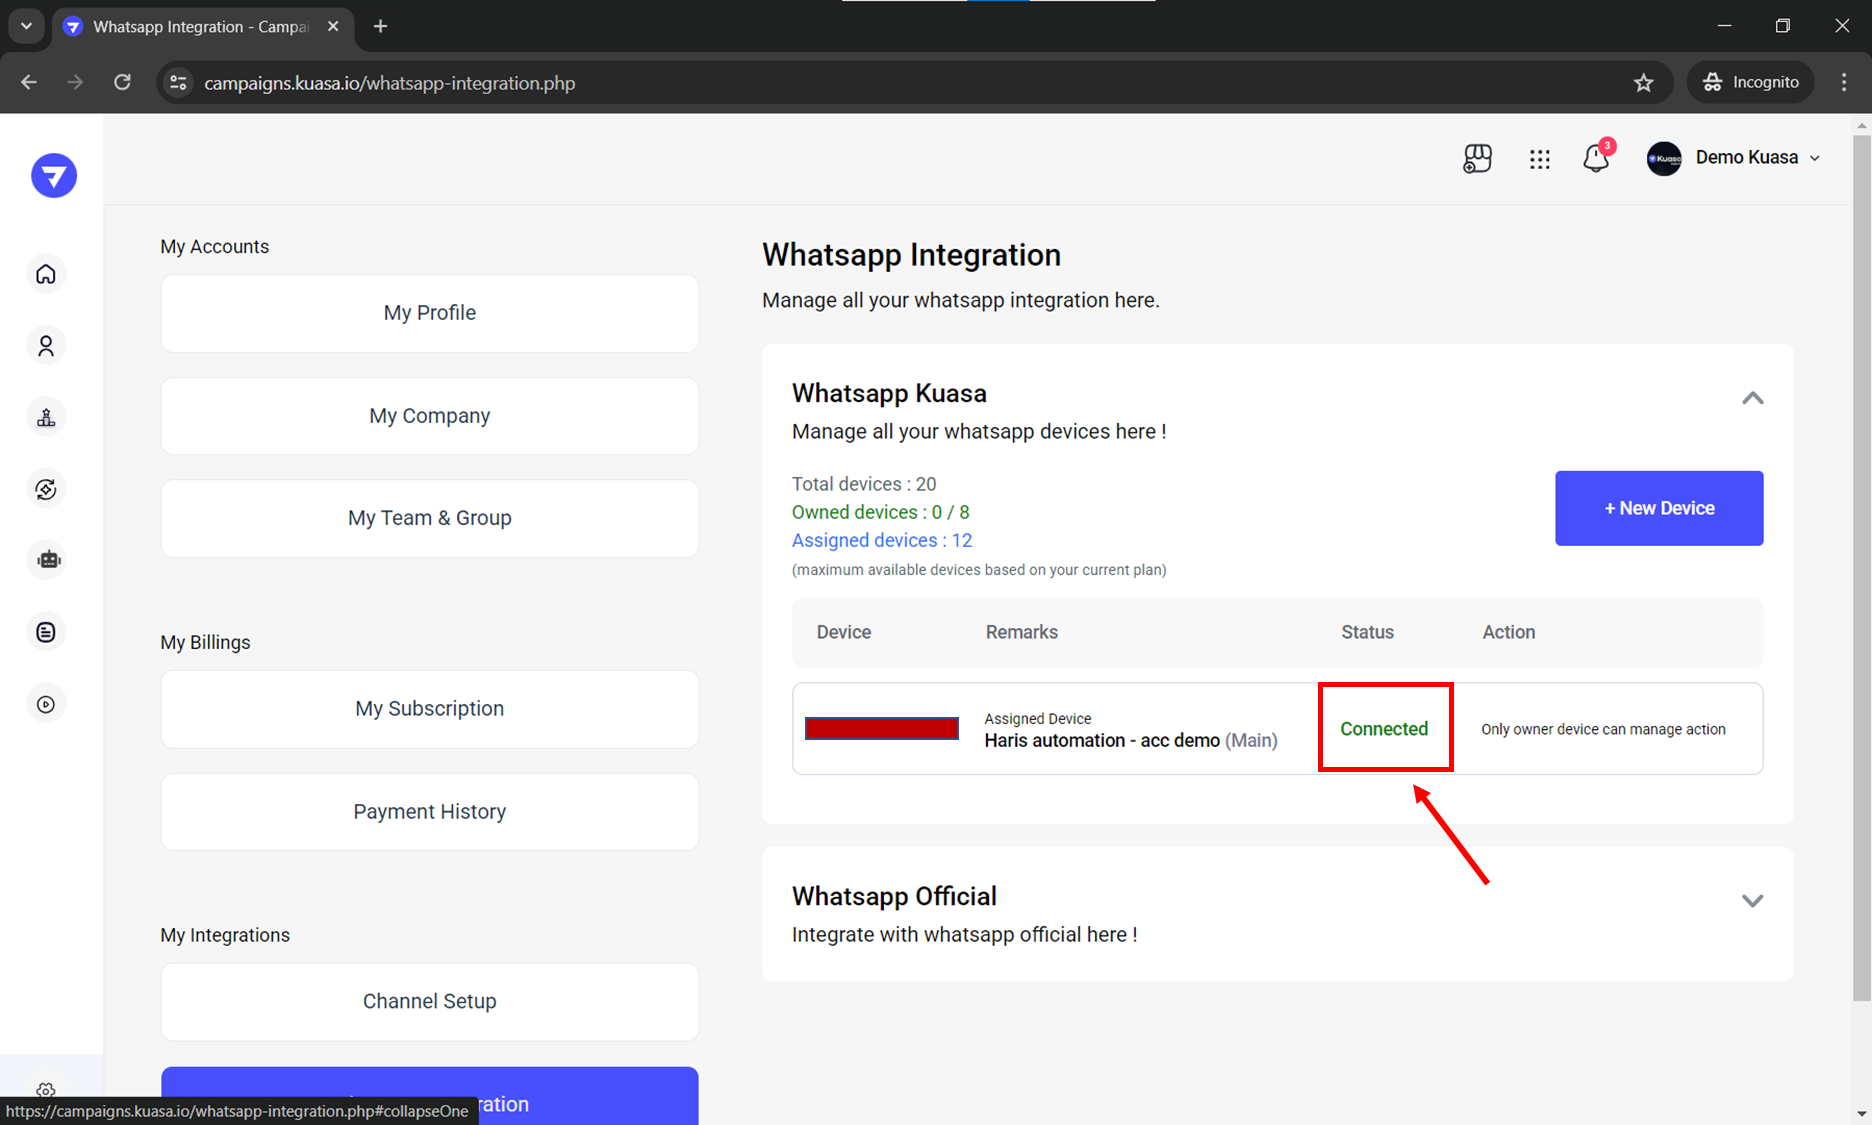
5. Make sure the connection is <mark style="color:green;">**Connected**</mark>.

<figure><img src="/files/qIEpXLTLrjzZYN6Vm8sE" alt=""><figcaption></figcaption></figure>

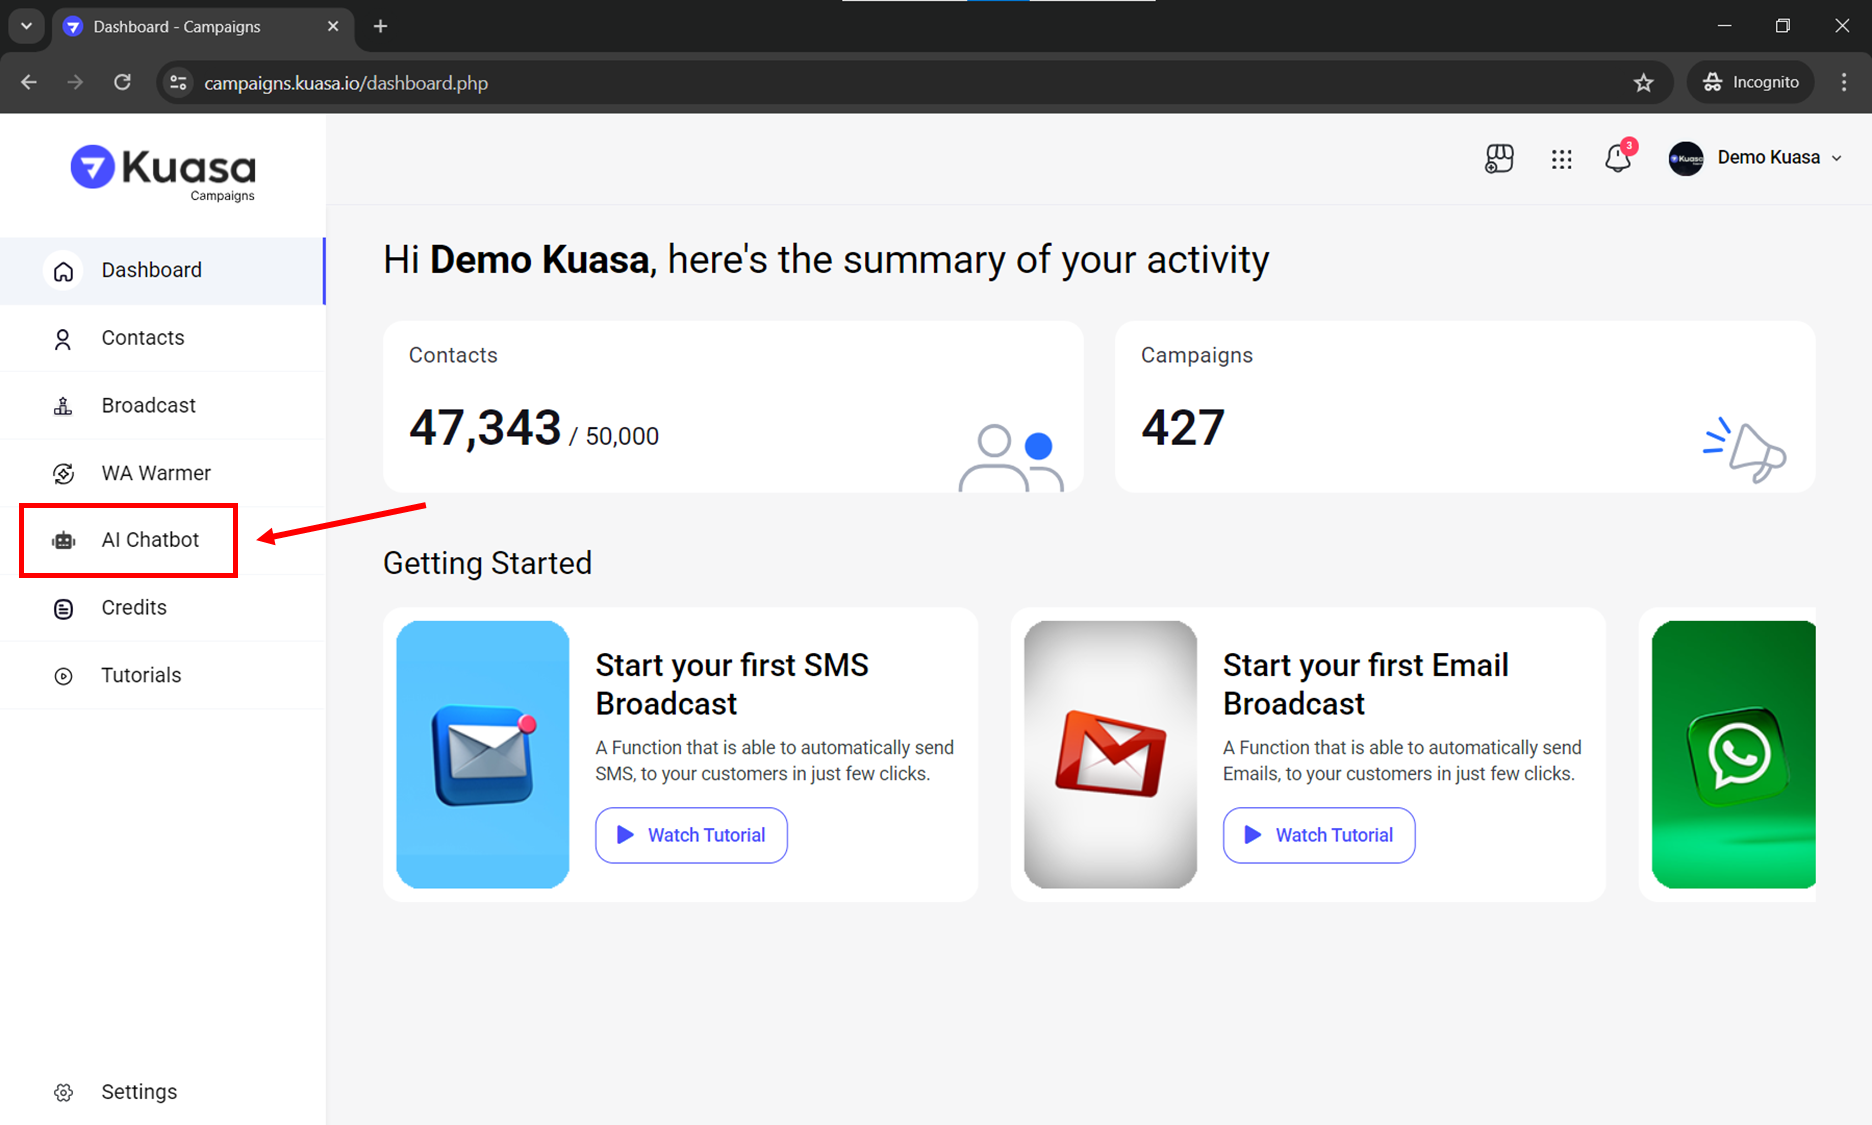
6. Click **AI Chatbot** on left side of your account.

<figure><img src="/files/ILSP77UeTemV2DSX0HcY" alt=""><figcaption></figcaption></figure>

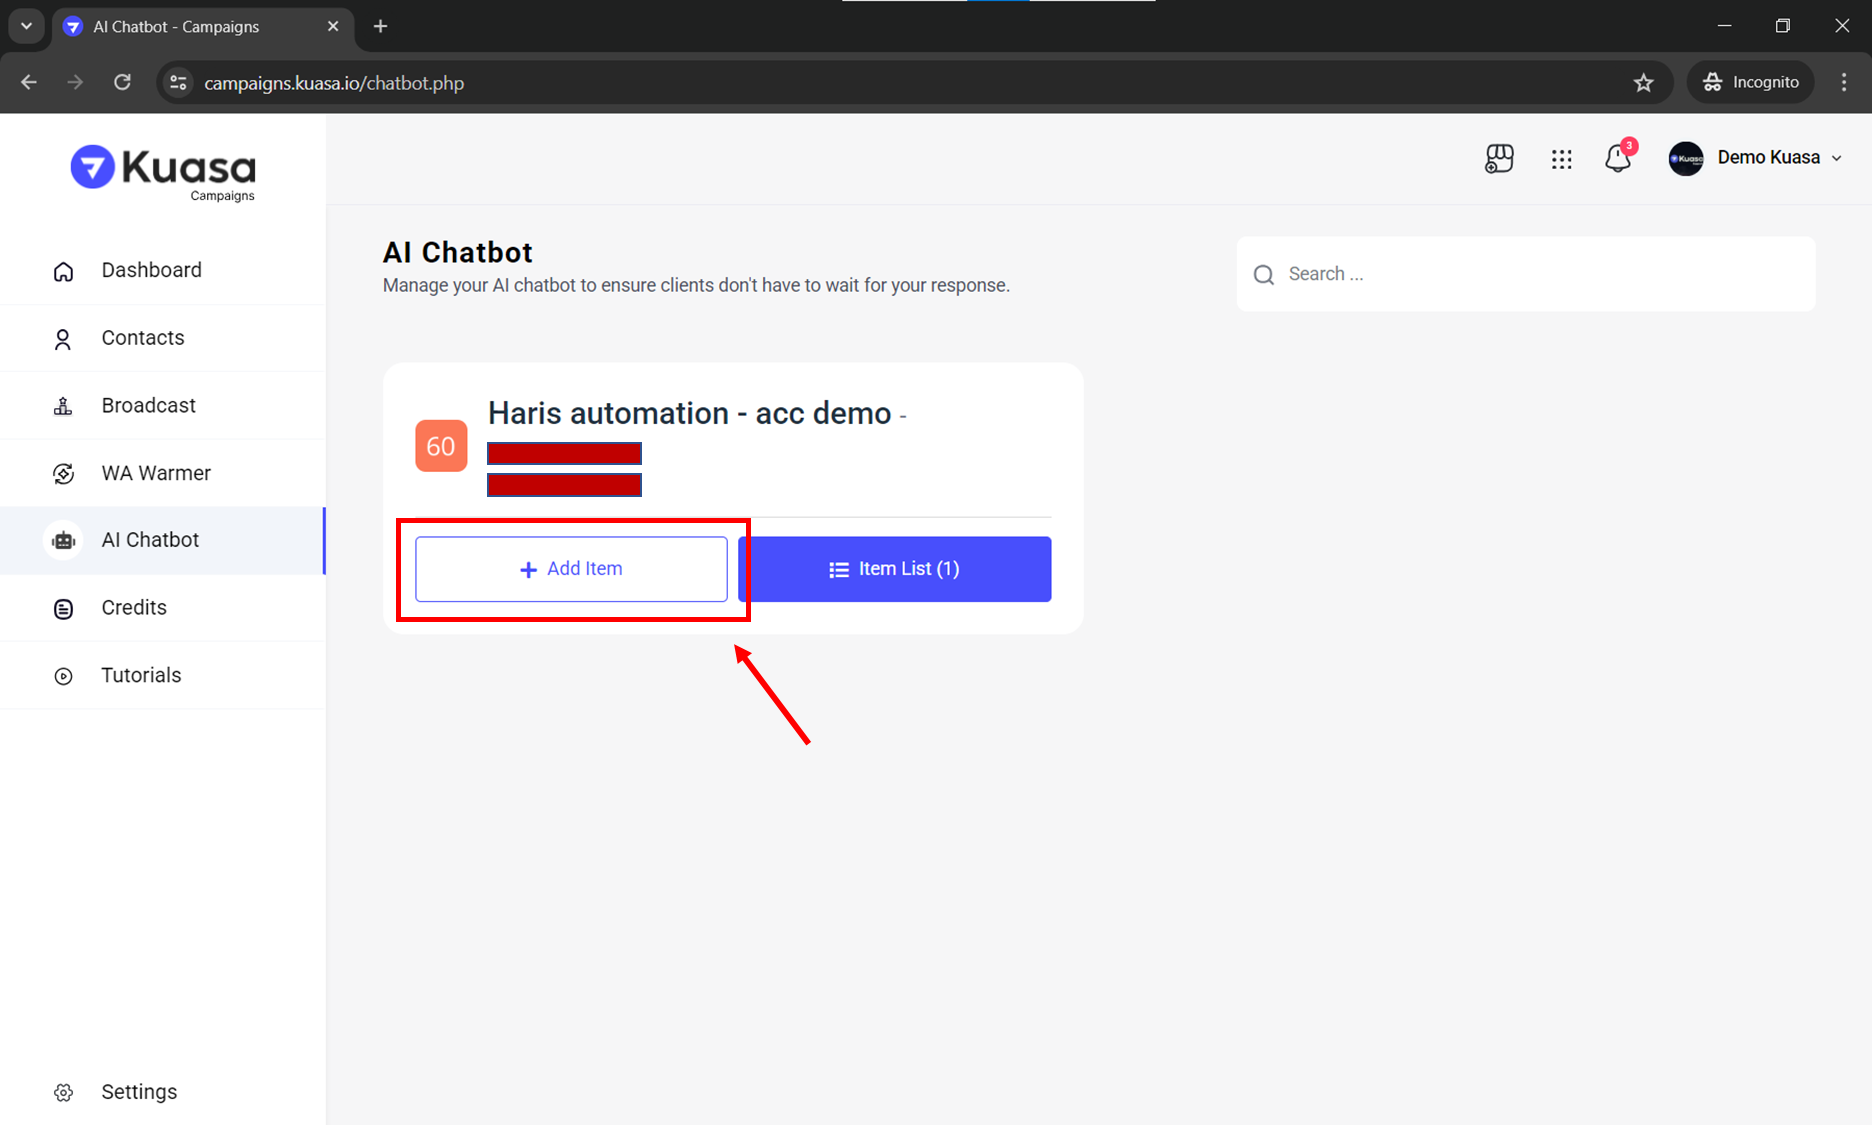
7. Click **Add Item**.

<figure><img src="/files/juLmgVB7fECxFGQQlcYm" alt=""><figcaption></figcaption></figure>

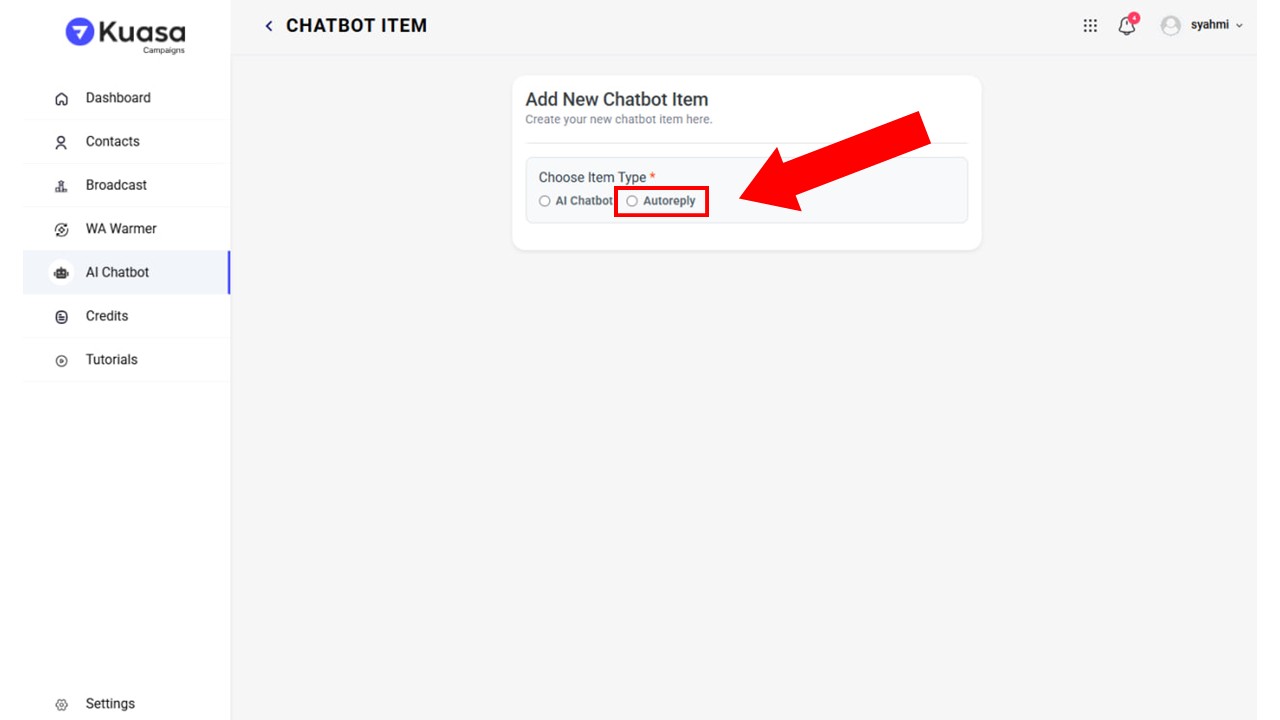
8. Choose **Autoreply.**

<figure><img src="/files/OsPQ9En65YbUjCZ3qV4c" alt=""><figcaption></figcaption></figure>

9. Set up the details below:

<mark style="color:blue;">**A. Status:**</mark> Enable

<mark style="color:blue;">**B. Type:**</mark> Choose one of the following:

* Message contains the keyword
* Message contains the whole keyword

<mark style="color:blue;">**C. Name:**</mark> Enter an item name for reference

<mark style="color:blue;">**D. Keywords:**</mark> Any word from the customer that will trigger the autoreply

<mark style="color:blue;">**E. Presence Delay:**</mark> Set the response delay time

<figure><img src="/files/cckBO2u5z3Z7RDFoMHqD" alt=""><figcaption></figcaption></figure>

<mark style="color:blue;">**F. Image:**</mark> You can include one image for the autoreply (Maximum file size: 2MB)

<mark style="color:blue;">**G. Caption:**</mark> Enter a caption for the autoreply

<figure><img src="/files/HDXW9gw7tfmvuDkHbQrz" alt=""><figcaption></figcaption></figure>

10. Click the **Add New** button.
11. Done! Your Autoreply item has been successfully added. <mark style="color:red;">(All items will be lost if the device is deleted. Please save your items elsewhere as a backup.)</mark>

<figure><img src="/files/kgDRzGMJ5h1oKc1lBnVH" alt=""><figcaption></figcaption></figure>


---

# Agent Instructions: Querying This Documentation

If you need additional information that is not directly available in this page, you can query the documentation dynamically by asking a question.

Perform an HTTP GET request on the current page URL with the `ask` query parameter:

```
GET https://tutorials.kuasa.io/getting-started/kuasa-campaigns/ai-chatbot/setup-autoreply.md?ask=<question>
```

The question should be specific, self-contained, and written in natural language.
The response will contain a direct answer to the question and relevant excerpts and sources from the documentation.

Use this mechanism when the answer is not explicitly present in the current page, you need clarification or additional context, or you want to retrieve related documentation sections.