> For the complete documentation index, see [llms.txt](https://tutorials.kuasa.io/getting-started/llms.txt). Markdown versions of documentation pages are available by appending `.md` to page URLs; this page is available as [Markdown](https://tutorials.kuasa.io/getting-started/kuasa-landing-page/shippings/weight-based.md).
# Weight Based
1. Log in to your account via [**https://landing-page.kuasa.io/**](https://landing-page.kuasa.io/)**.**
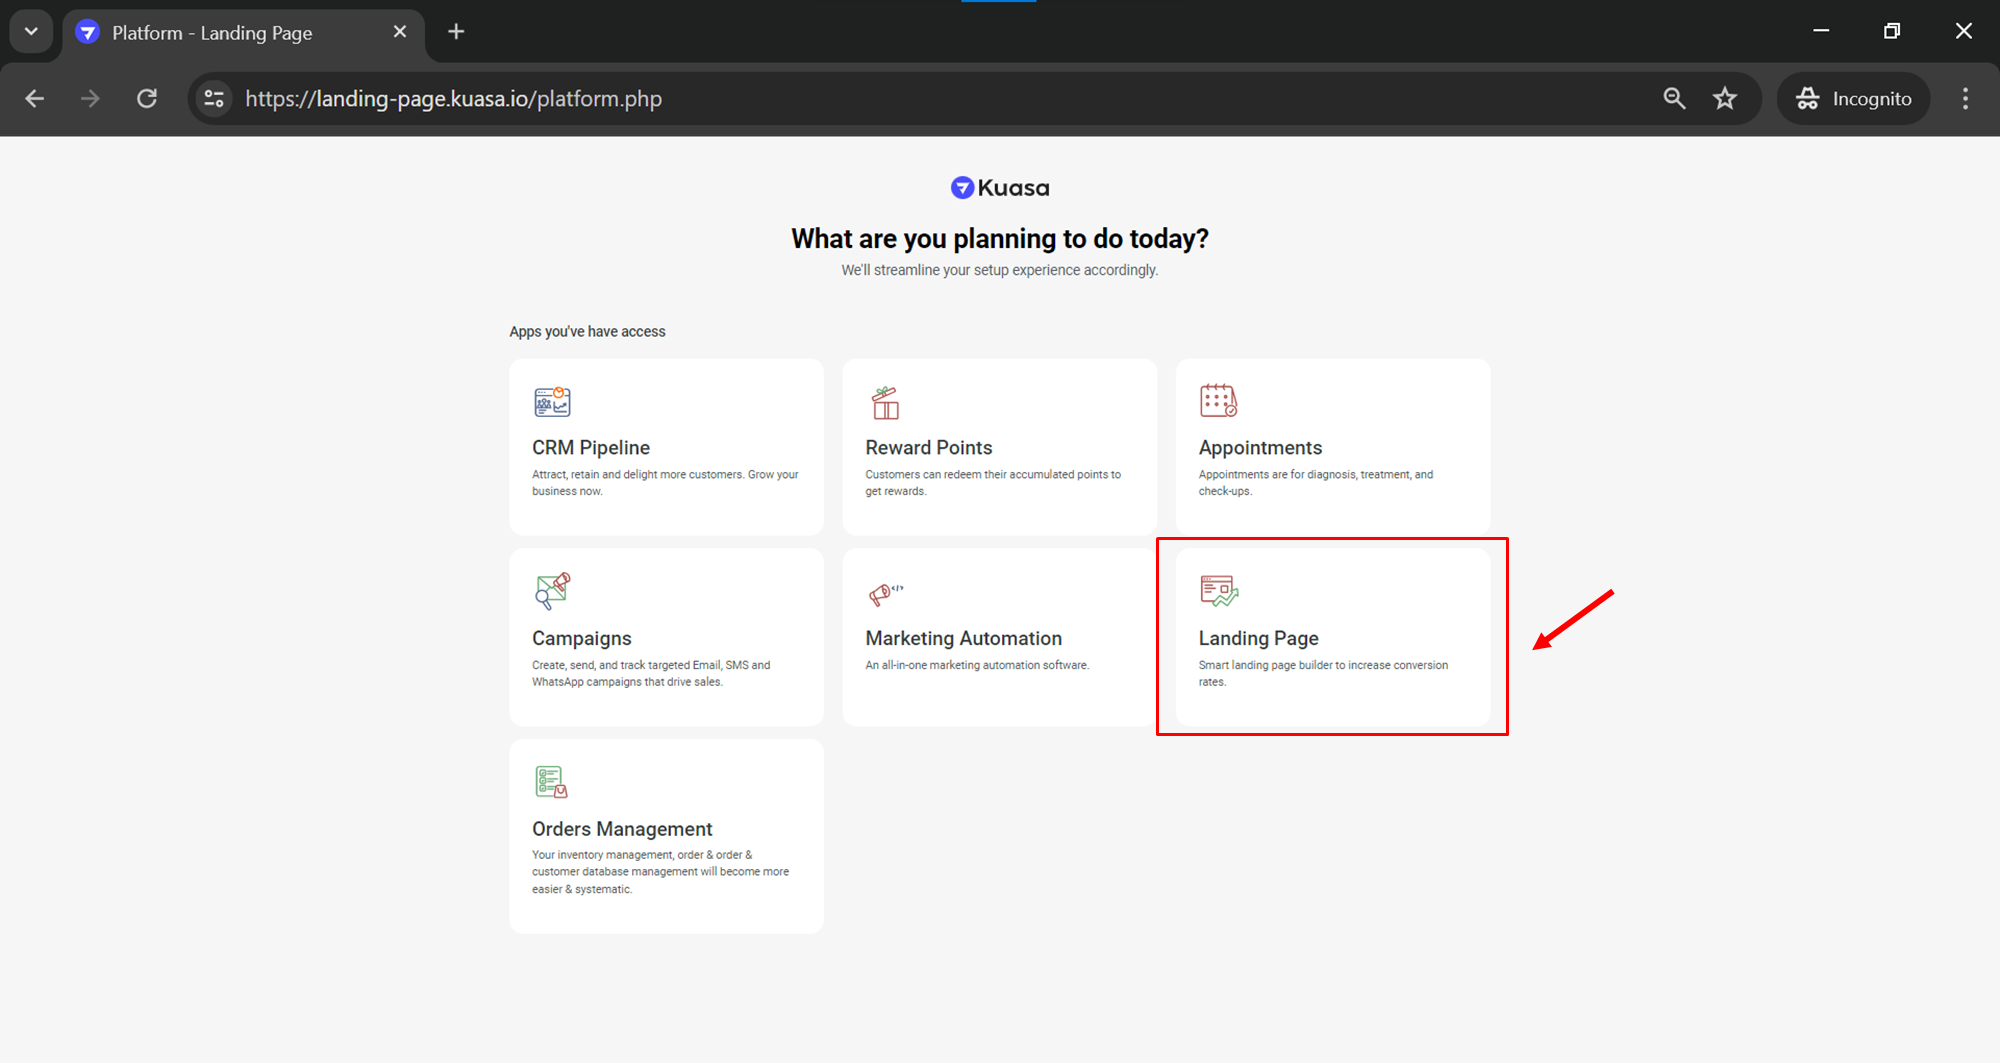
2. Click **Landing Page.**
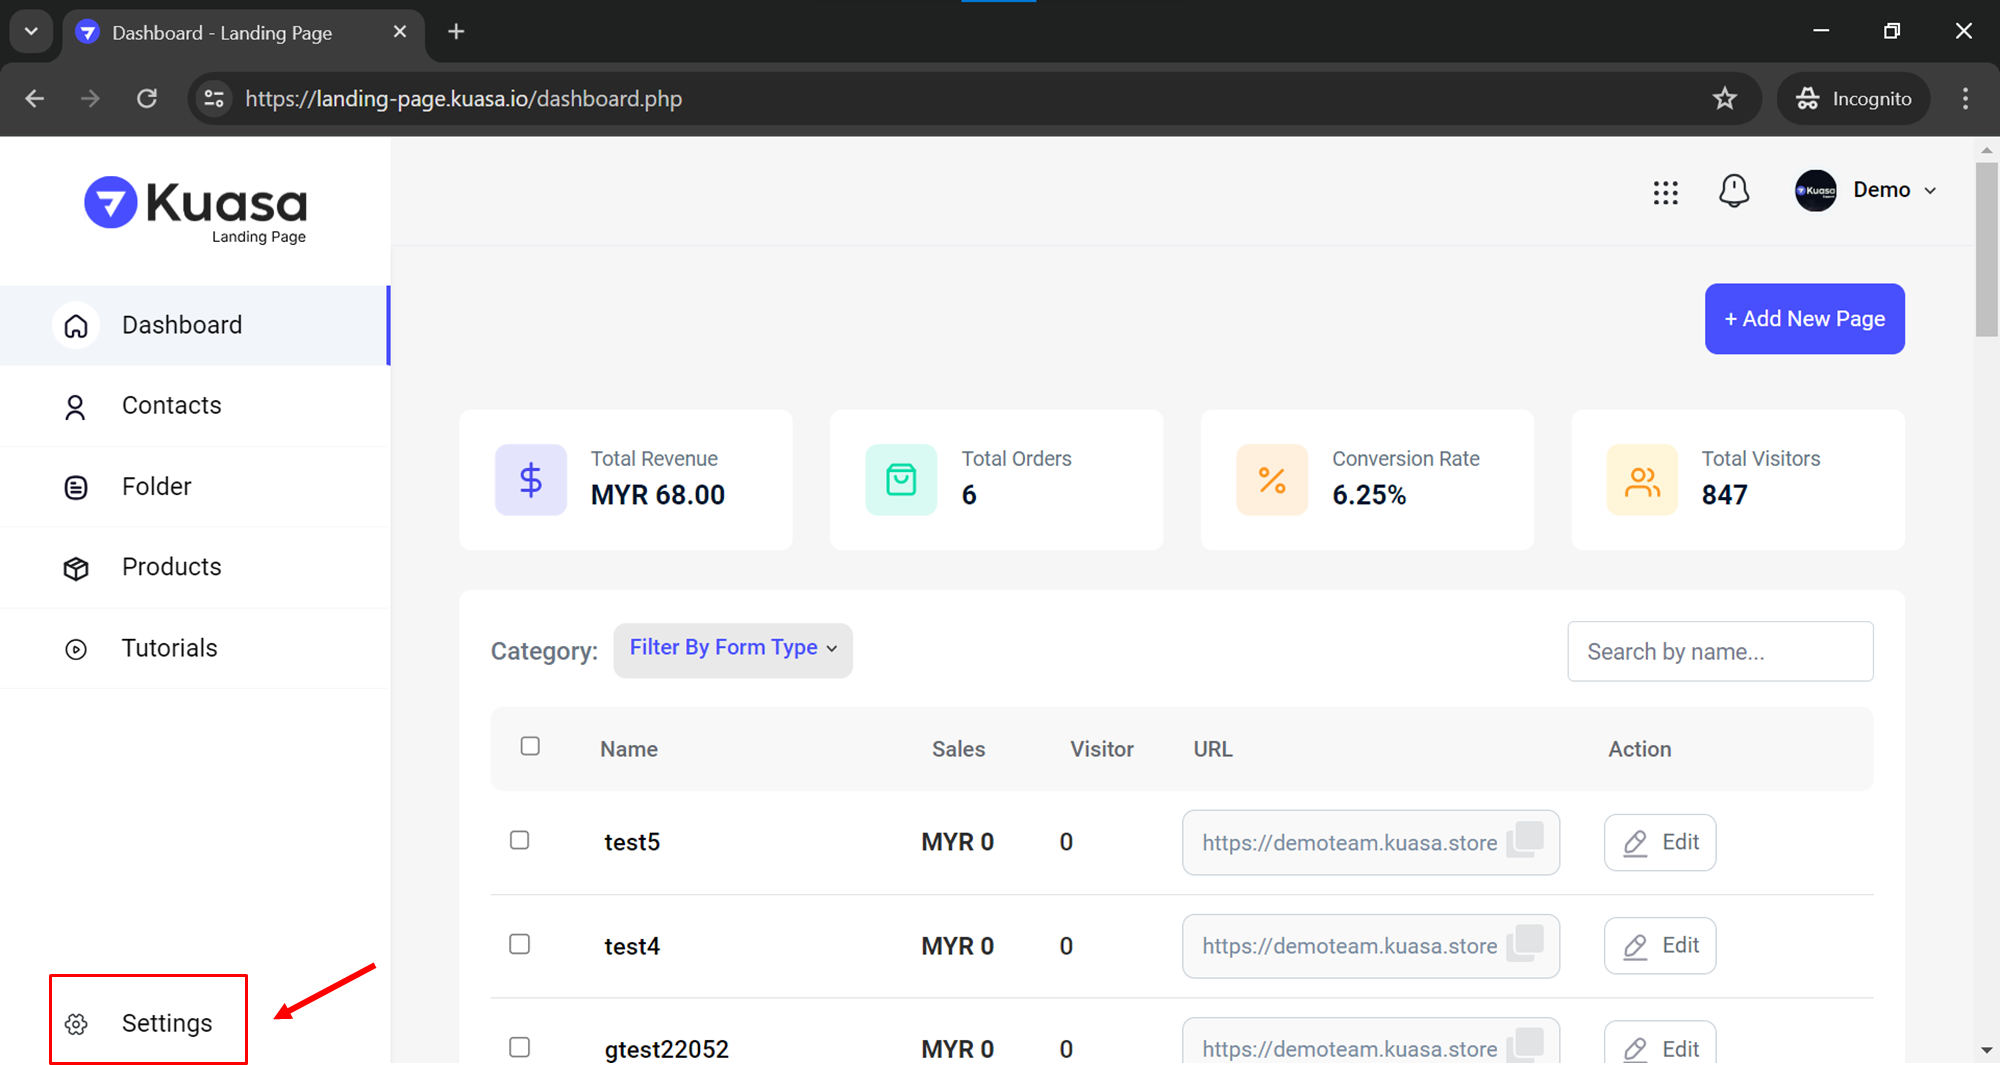
3. Click on **Settings**.
4. Click on **Shipping Method**.
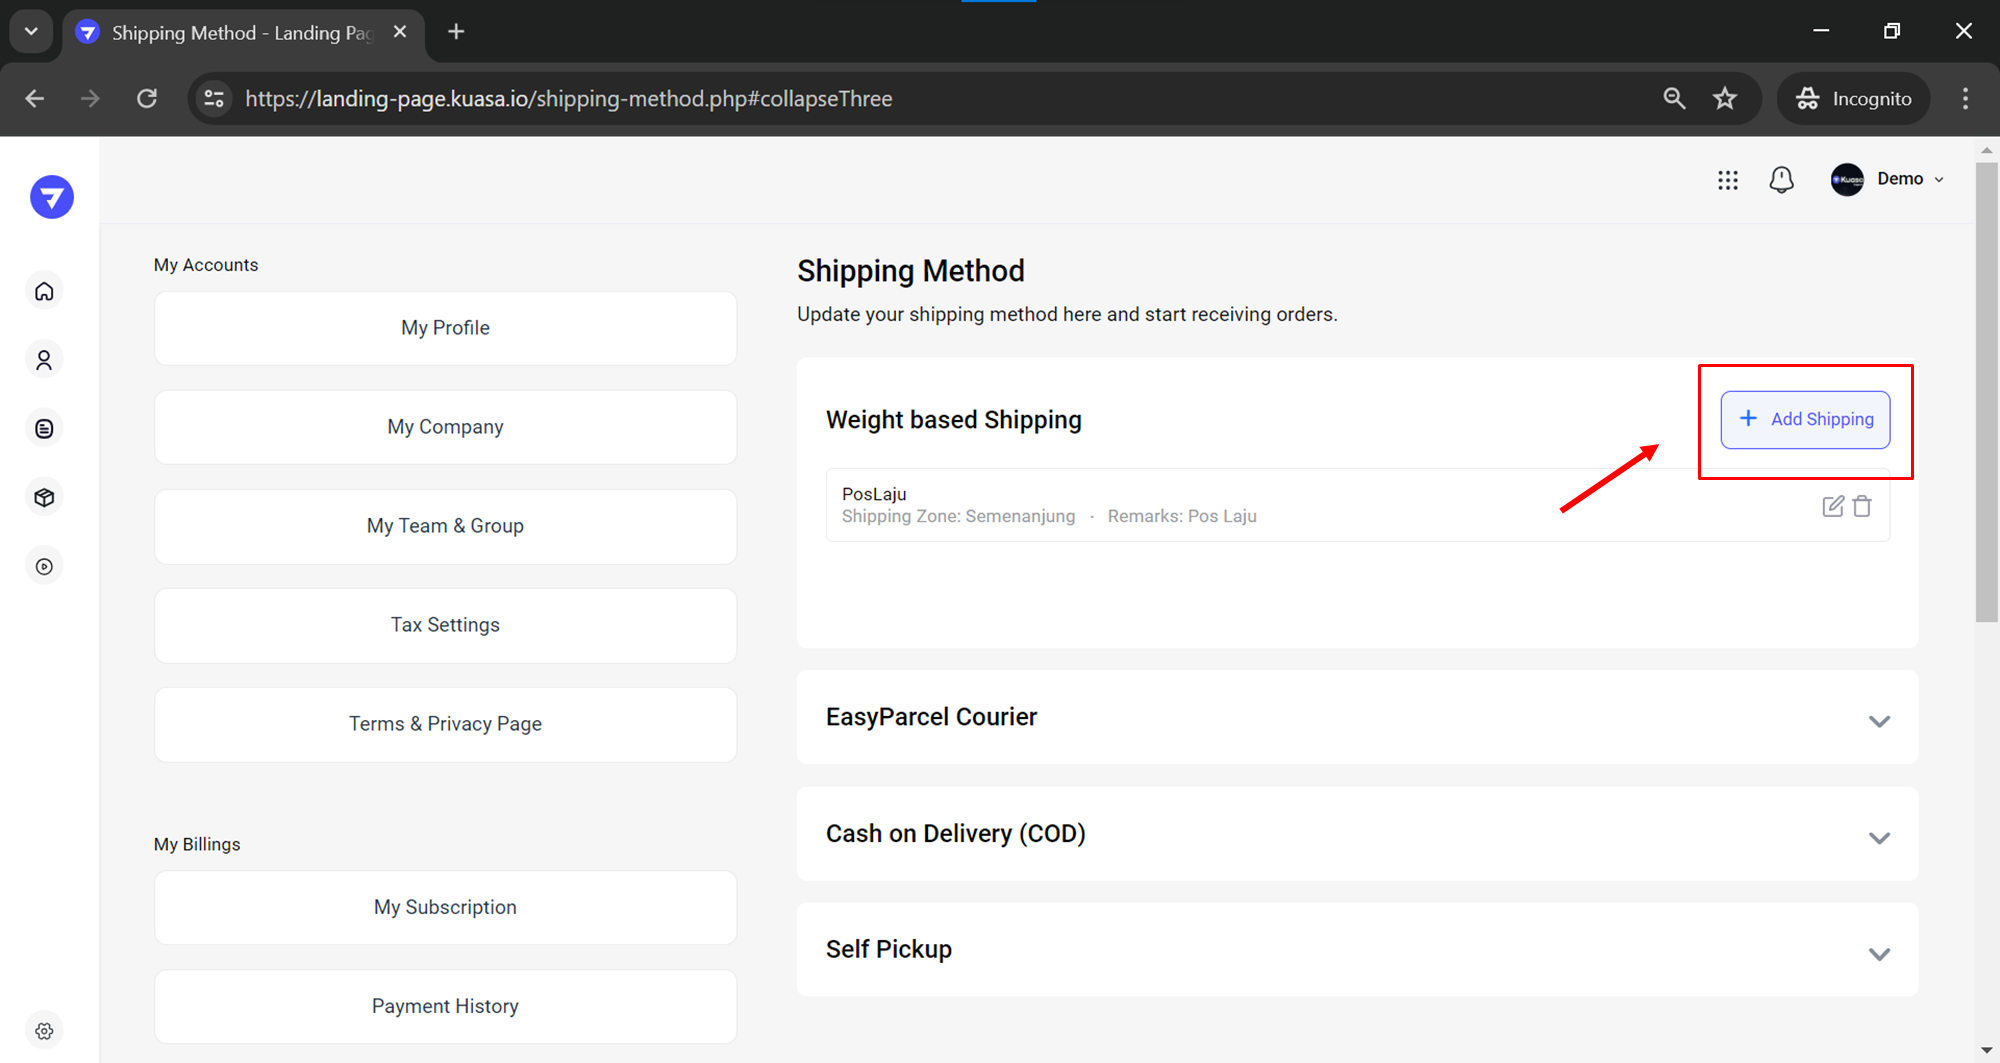
5. Click on **+** **Add Shipping** button.
6. Fill in the **Name** (remark), S**hipping Courier** involved, and **Shipping Zone**. Click **Add New button** after completing the required information.
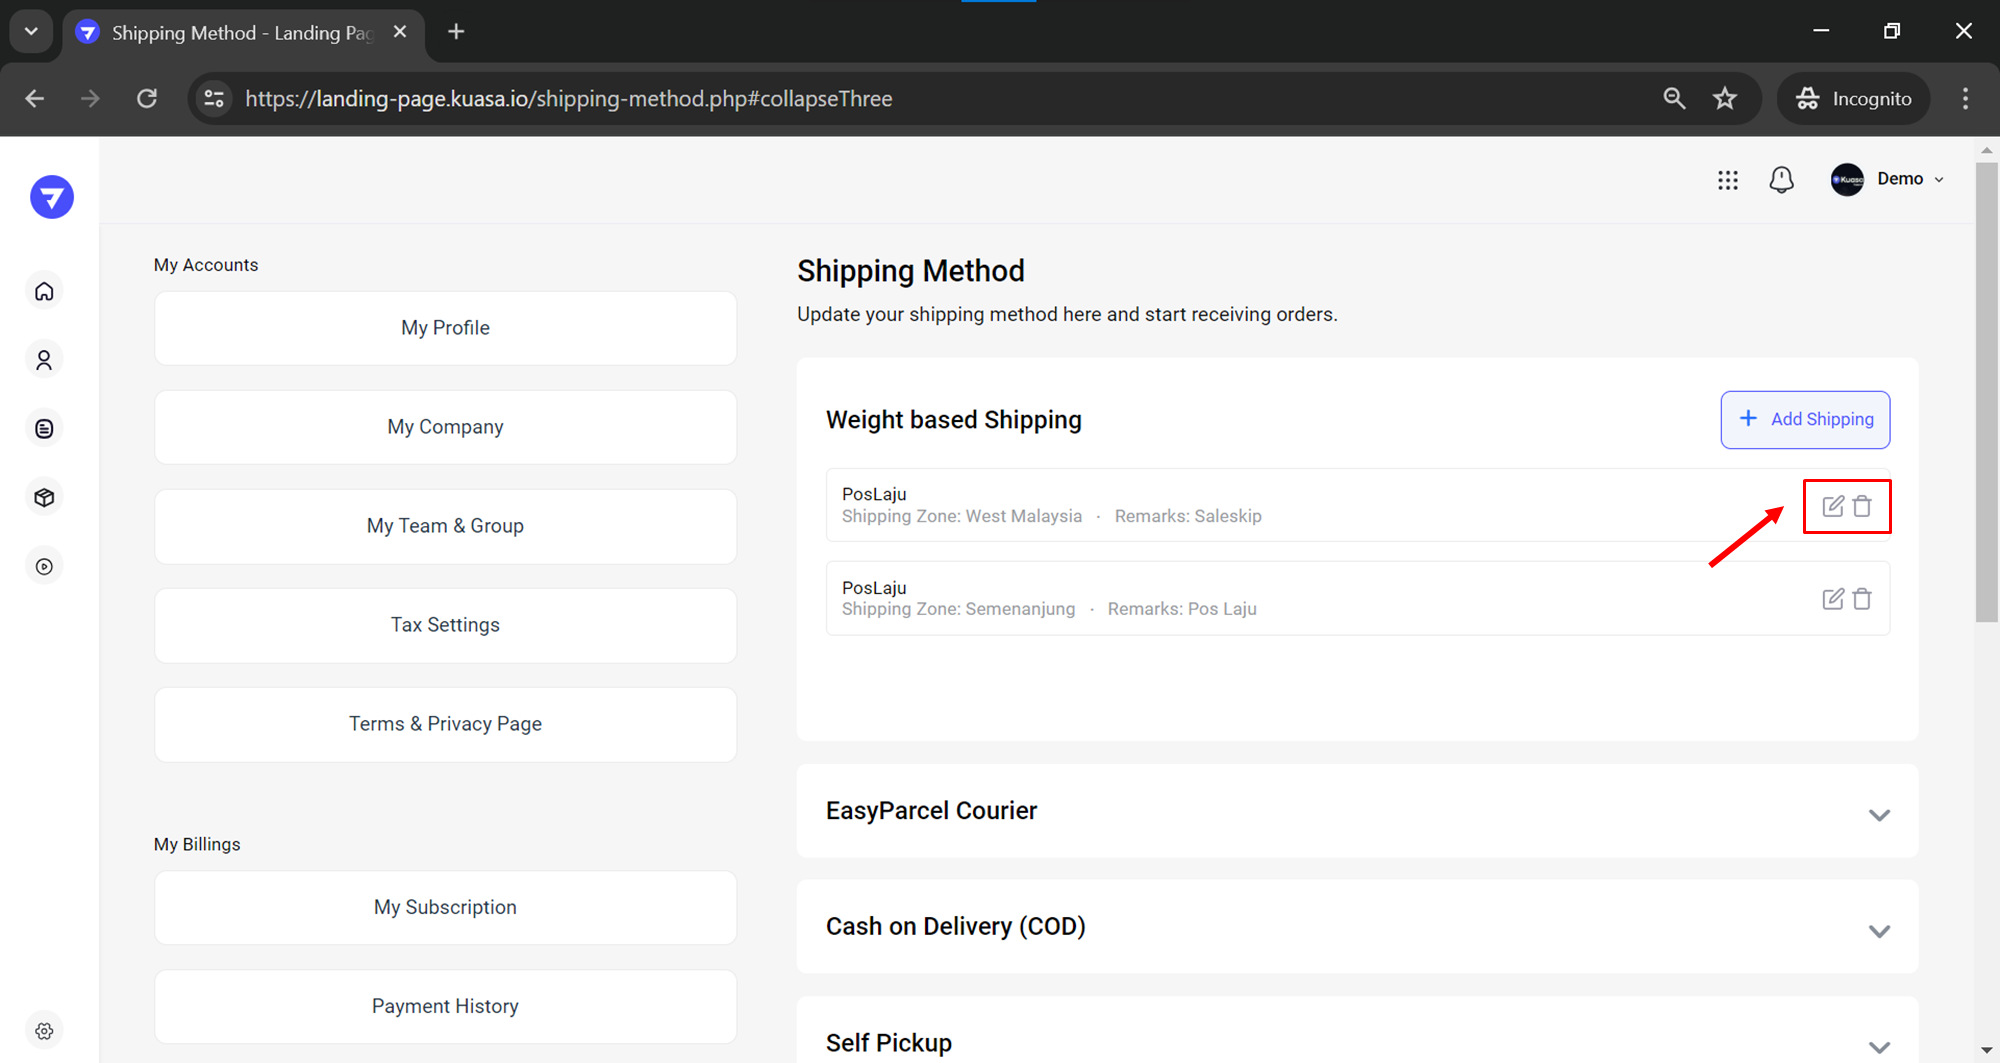
7. Click on the **edit** symbol.
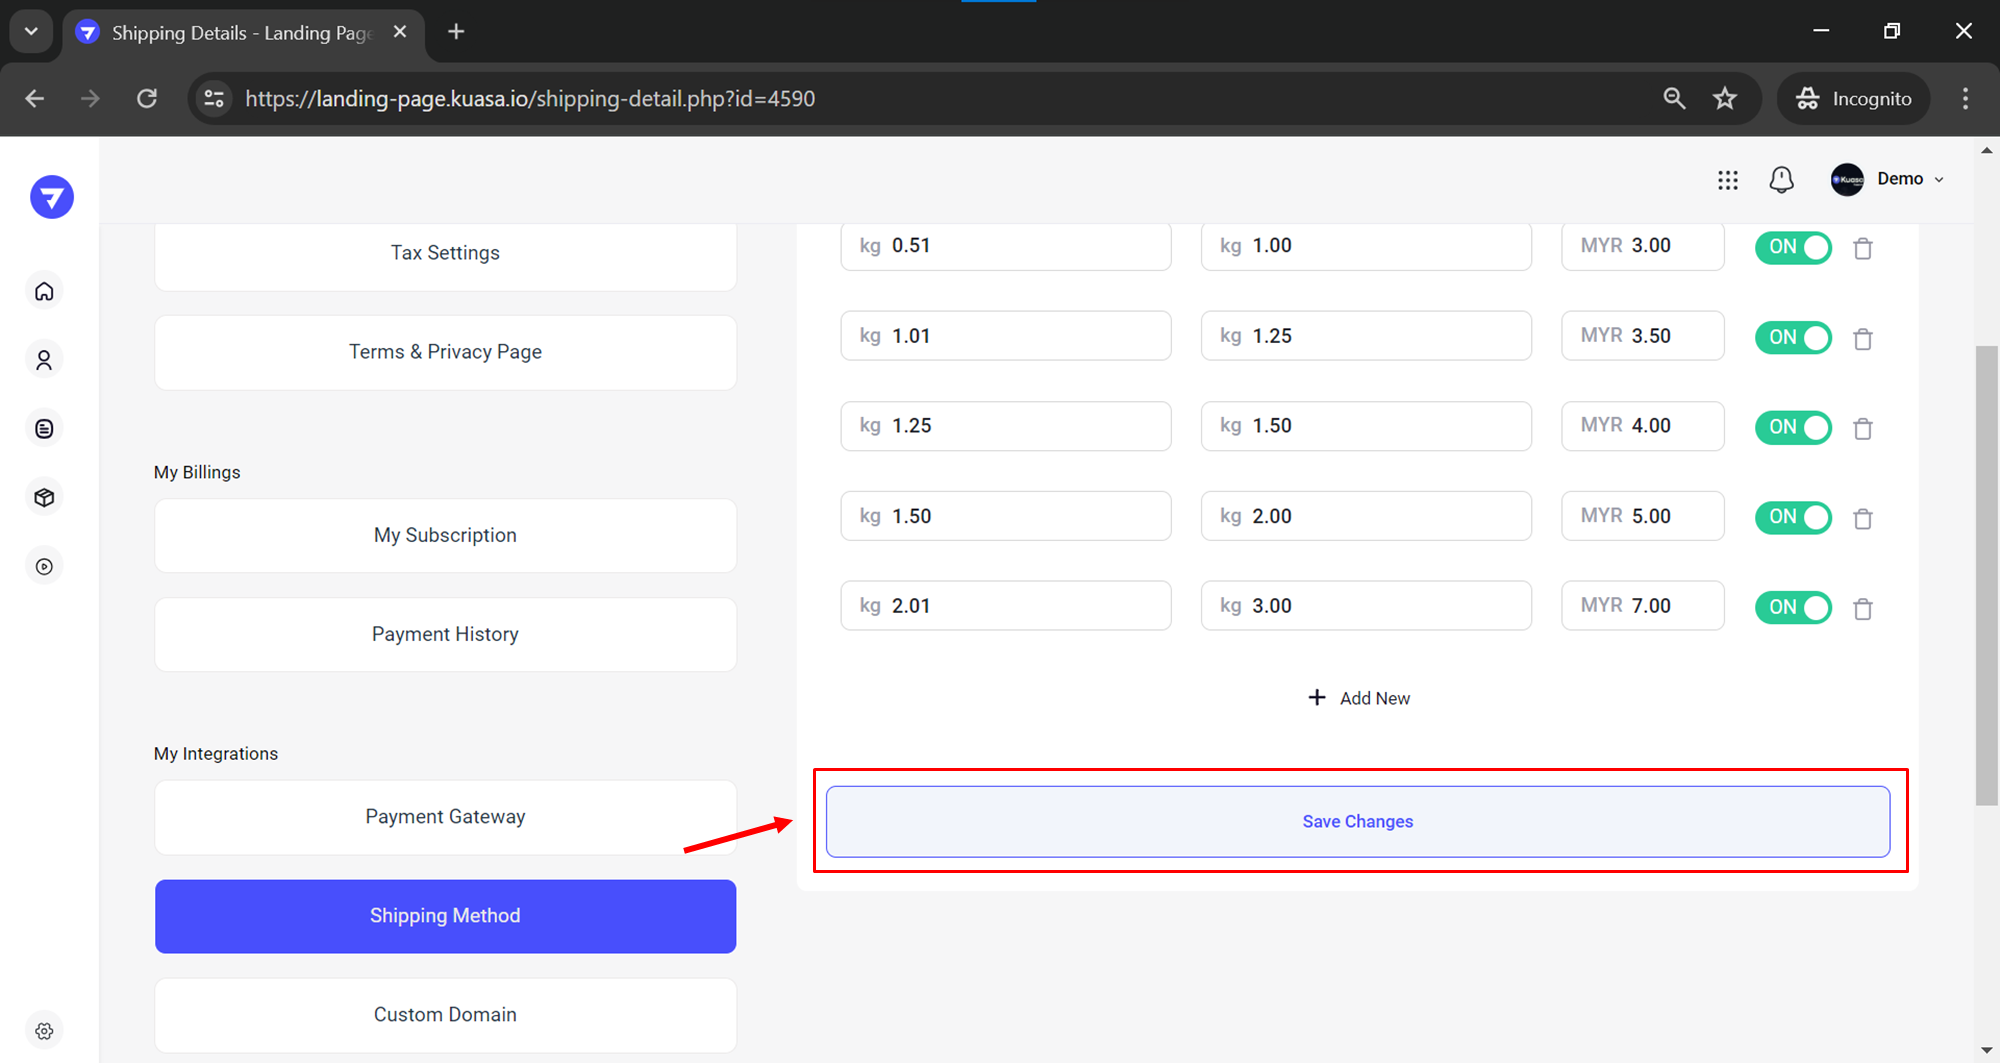
8. You will be taken to a page to set the charges for shipping. You can update all the fees that need to be paid by your customers based on the weight of the items.
9. To add a new charge, click on **Add New**. Once done, click **Save Changes** button to save all the changes.