> For the complete documentation index, see [llms.txt](https://tutorials.kuasa.io/getting-started/llms.txt). Markdown versions of documentation pages are available by appending `.md` to page URLs; this page is available as [Markdown](https://tutorials.kuasa.io/getting-started/kuasa-campaigns/ai-chatbot/setup-ai-chatbot/how-to-stop-ai-chatbot-for-specific-contact.md).

# How to Stop AI Chatbot for Specific Contact

Besides using the Stop and Start keywords on the customer’s side to turn the AI on or off, you can also stop the AI for a specific contact directly from your account.

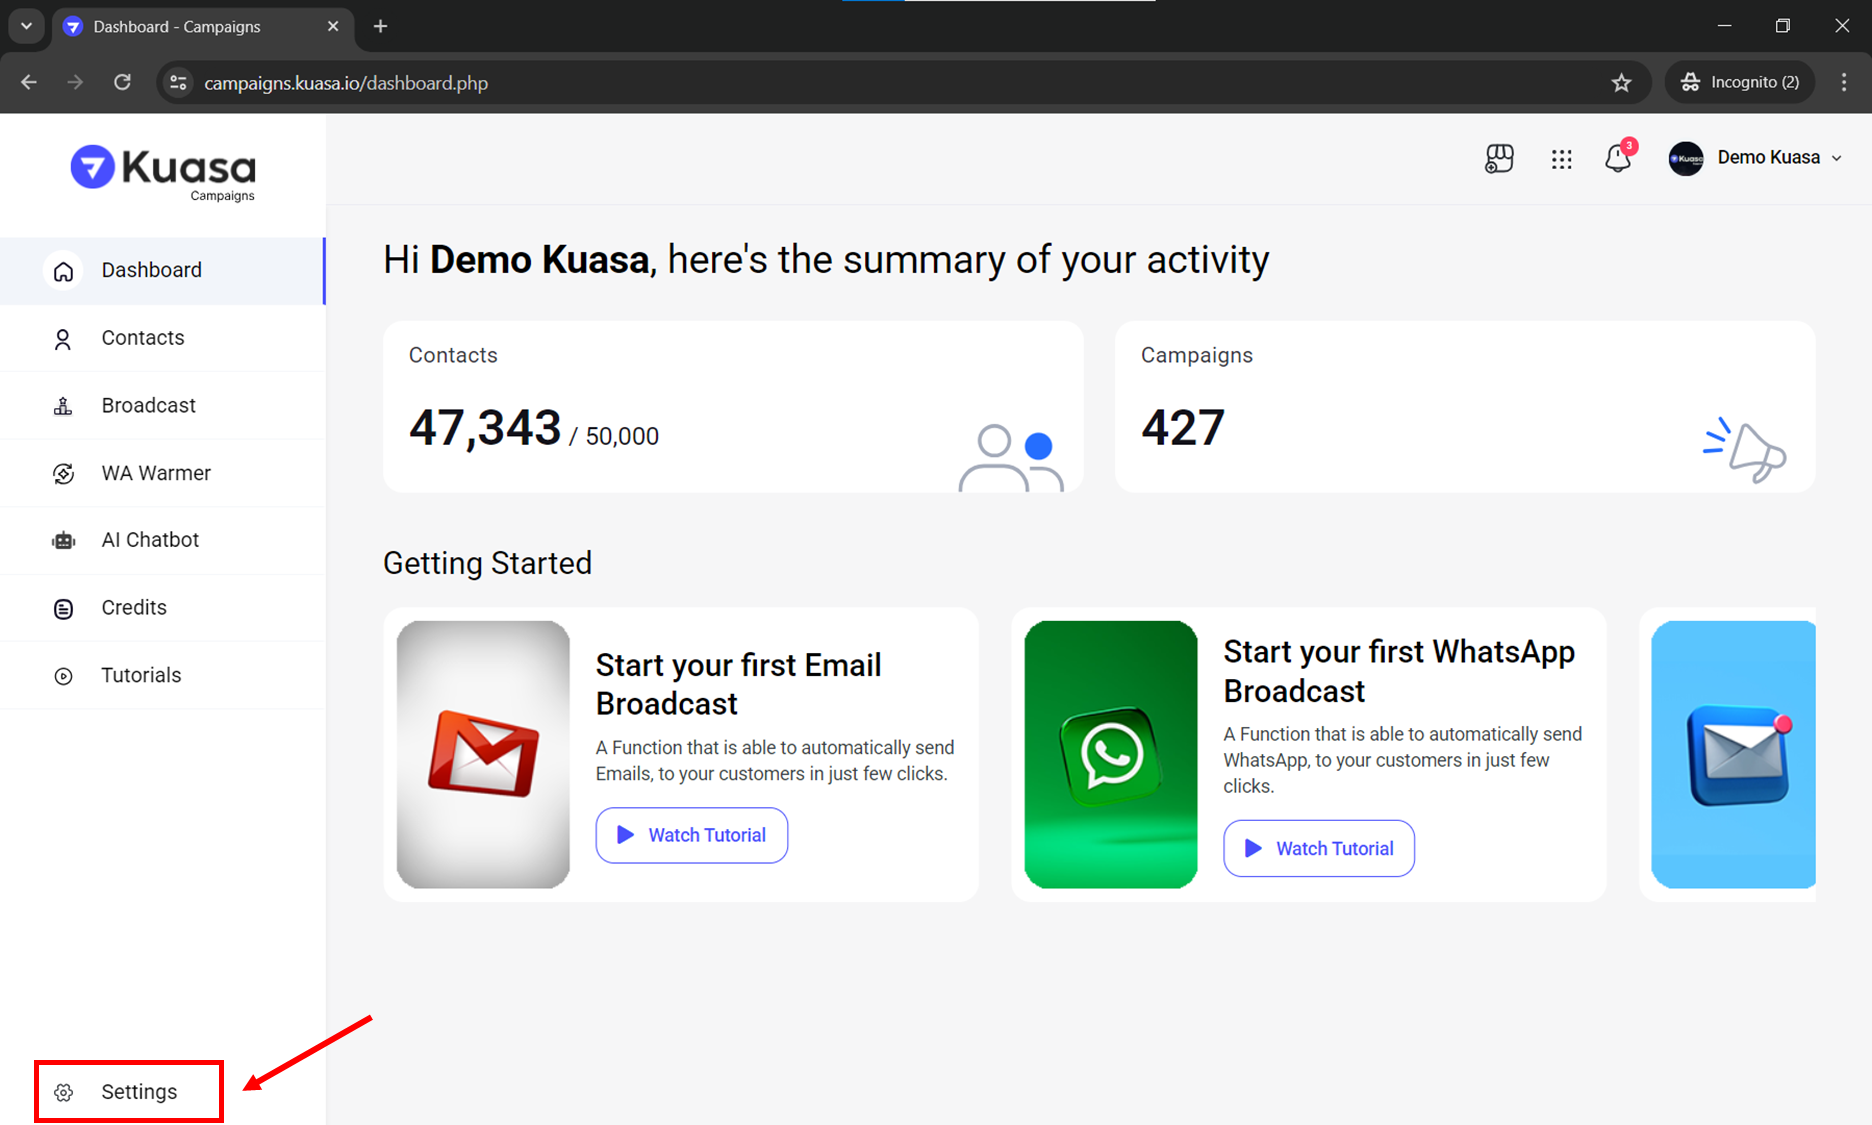
1. Login to your Kuasa account via <https://campaigns.kuasa.io/>.
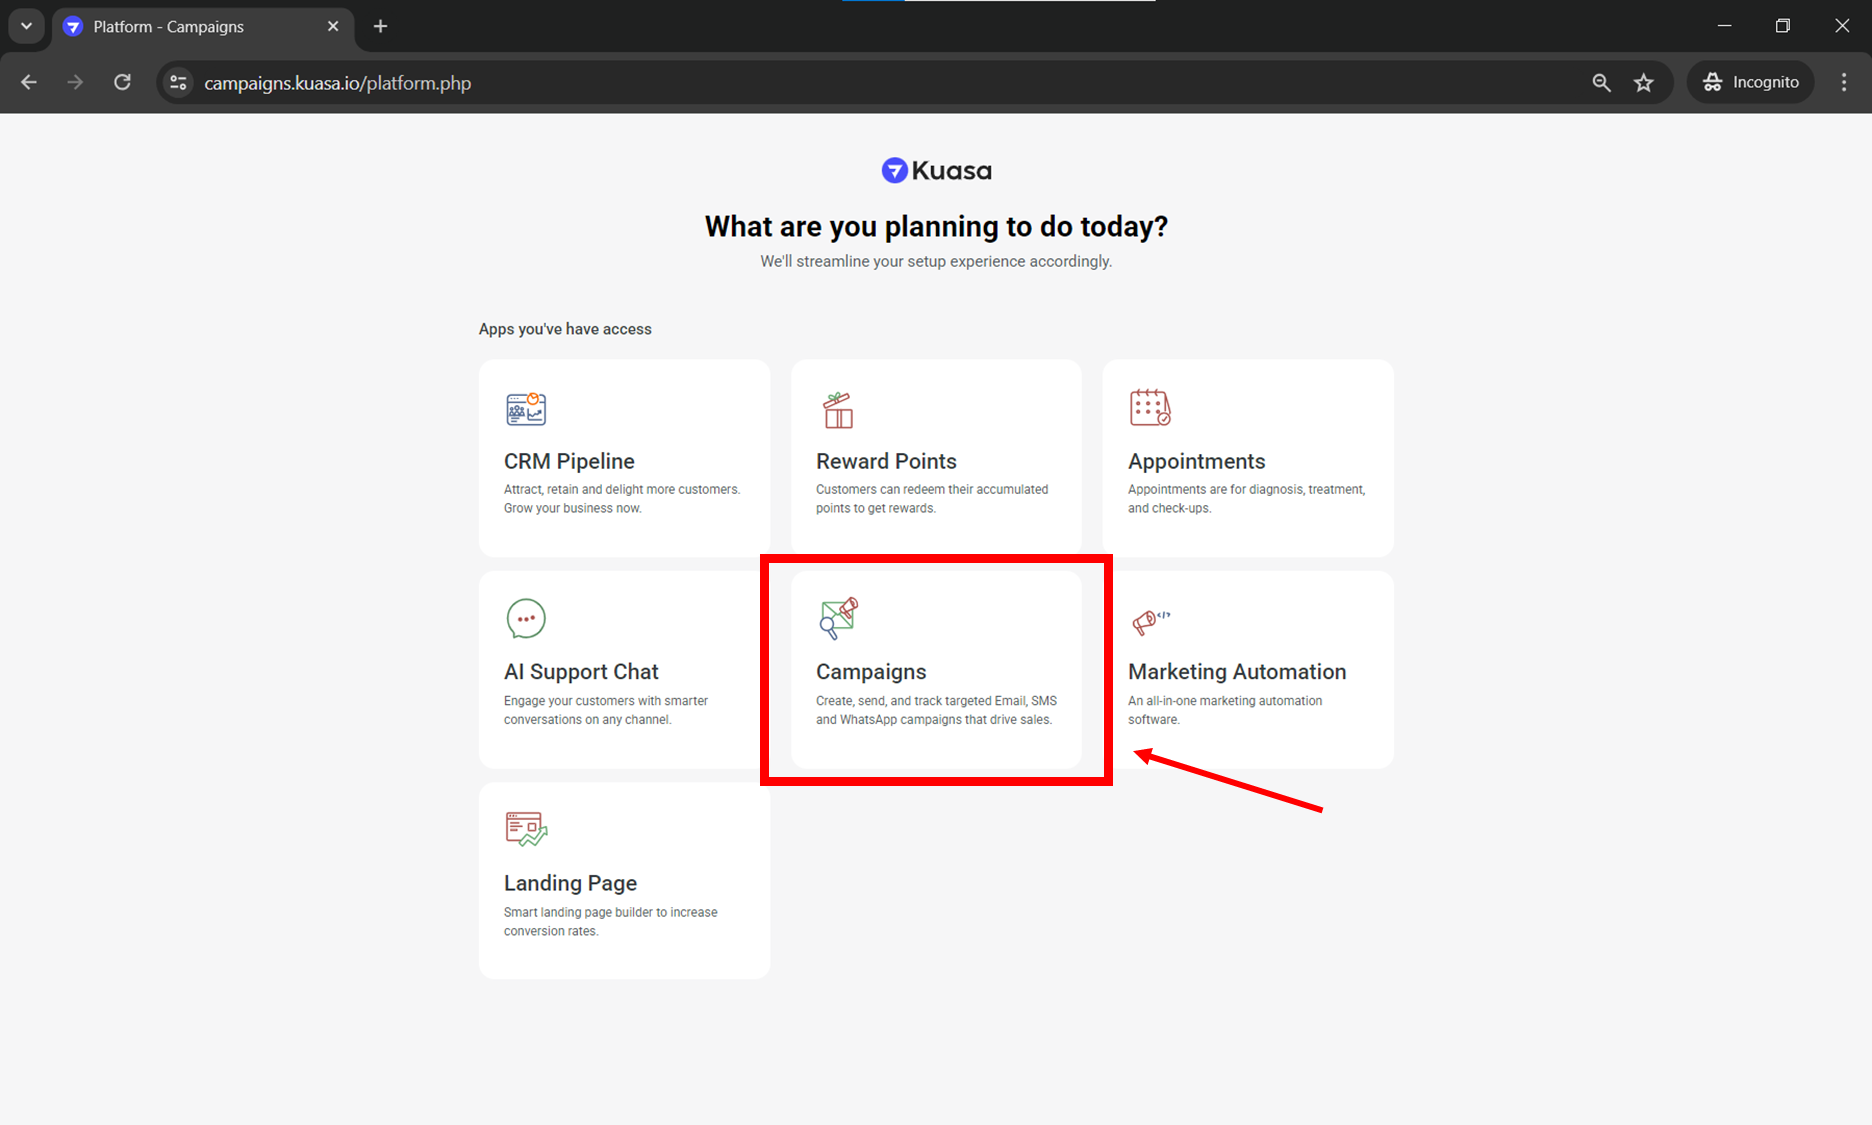
2. Click **Campaigns.**

<figure><img src="https://2425544693-files.gitbook.io/~/files/v0/b/gitbook-x-prod.appspot.com/o/spaces%2F3QW4viTMK6zDjbpEqP2H%2Fuploads%2FzISX5G5xsBompjfhJF2b%2Fimage.png?alt=media&amp;token=7f4de021-af89-468a-99c5-388250f3dc0d" alt=""><figcaption></figcaption></figure>

3. Make sure that your WhatsApp device is connected to your Kuasa account. You may check the connection on your device settings.

<figure><img src="https://2425544693-files.gitbook.io/~/files/v0/b/gitbook-x-prod.appspot.com/o/spaces%2F3QW4viTMK6zDjbpEqP2H%2Fuploads%2FEjgaY77yELJlYPV1Lc2J%2Fimage.png?alt=media&amp;token=53bebaac-ed45-45b9-aa21-b9f10340c502" alt=""><figcaption></figcaption></figure>

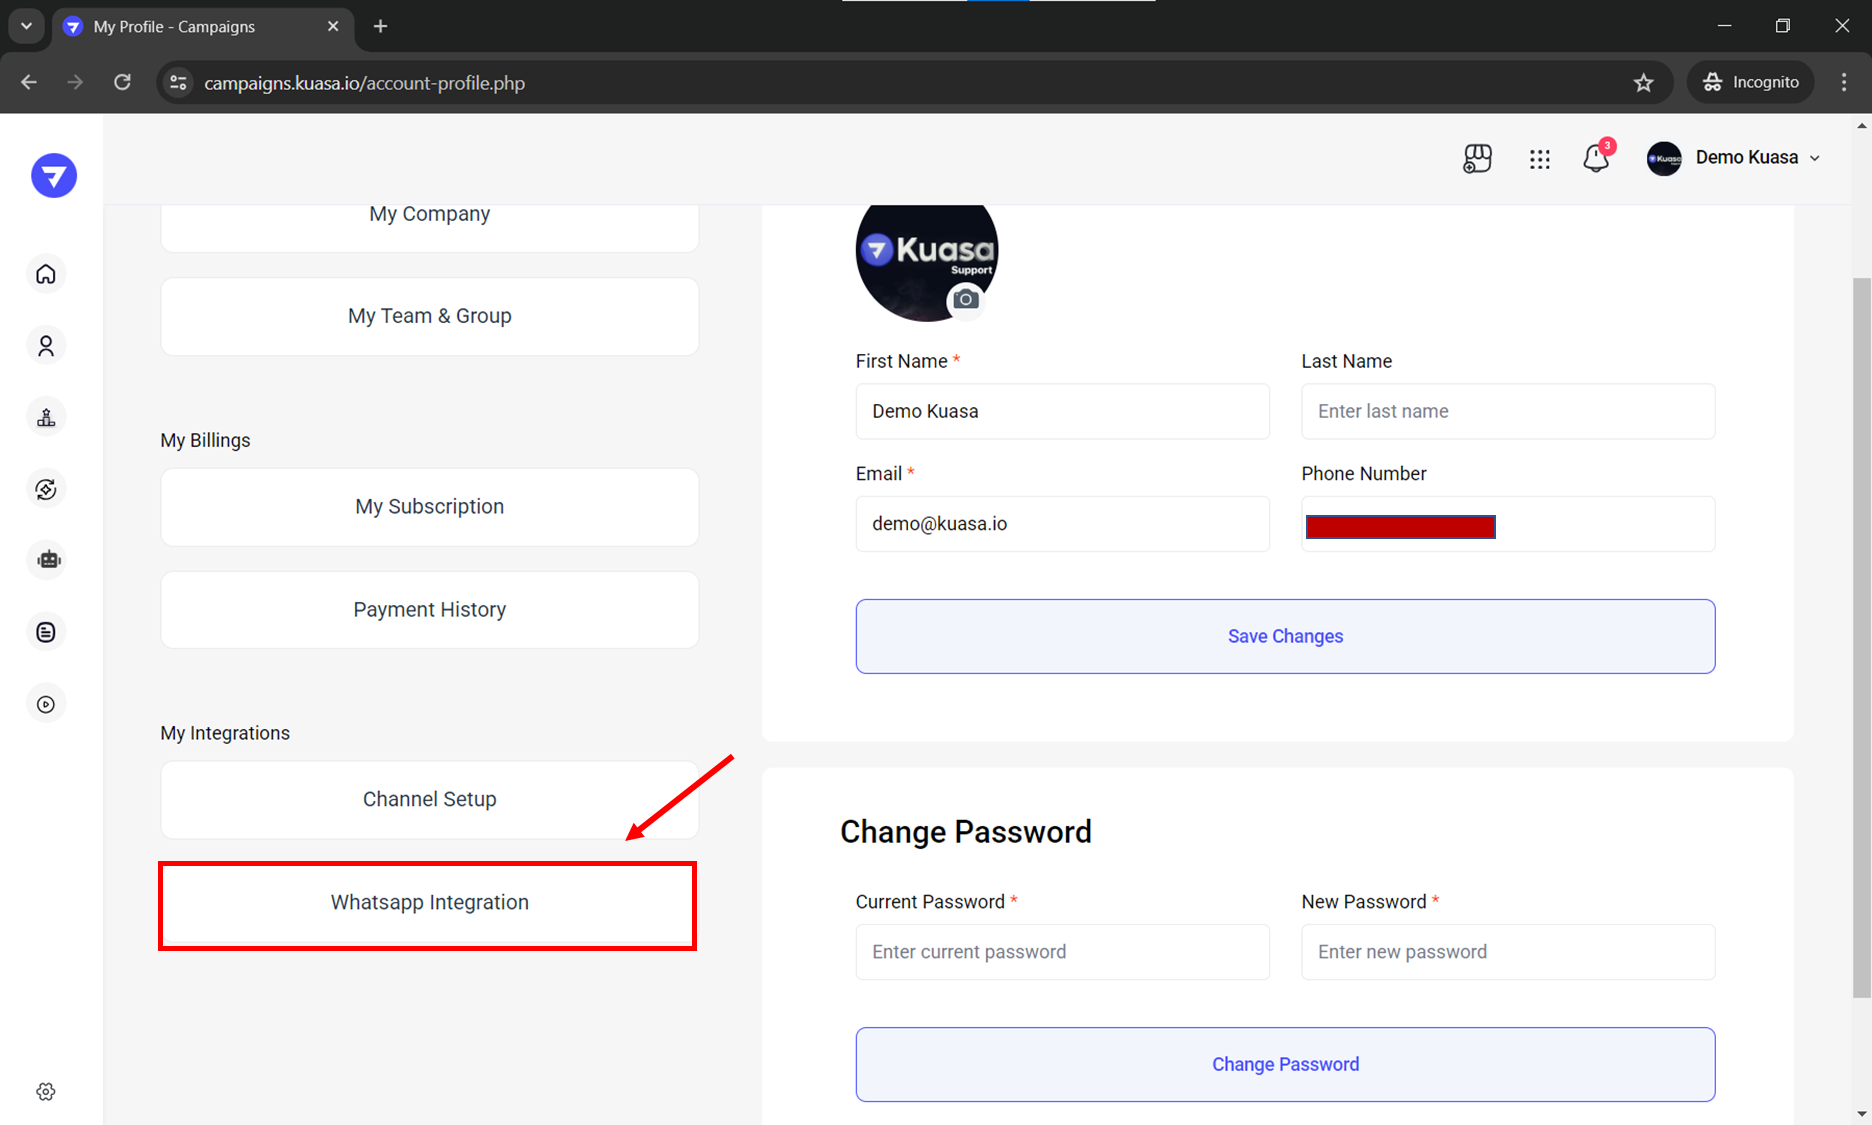
4. Click **WhatsApp Integration**.

<figure><img src="https://2425544693-files.gitbook.io/~/files/v0/b/gitbook-x-prod.appspot.com/o/spaces%2F3QW4viTMK6zDjbpEqP2H%2Fuploads%2FRTJHS8dsscZY9cpPqy8E%2Fimage.png?alt=media&amp;token=4654579f-8994-43a4-ae0b-a505902eacf4" alt=""><figcaption></figcaption></figure>

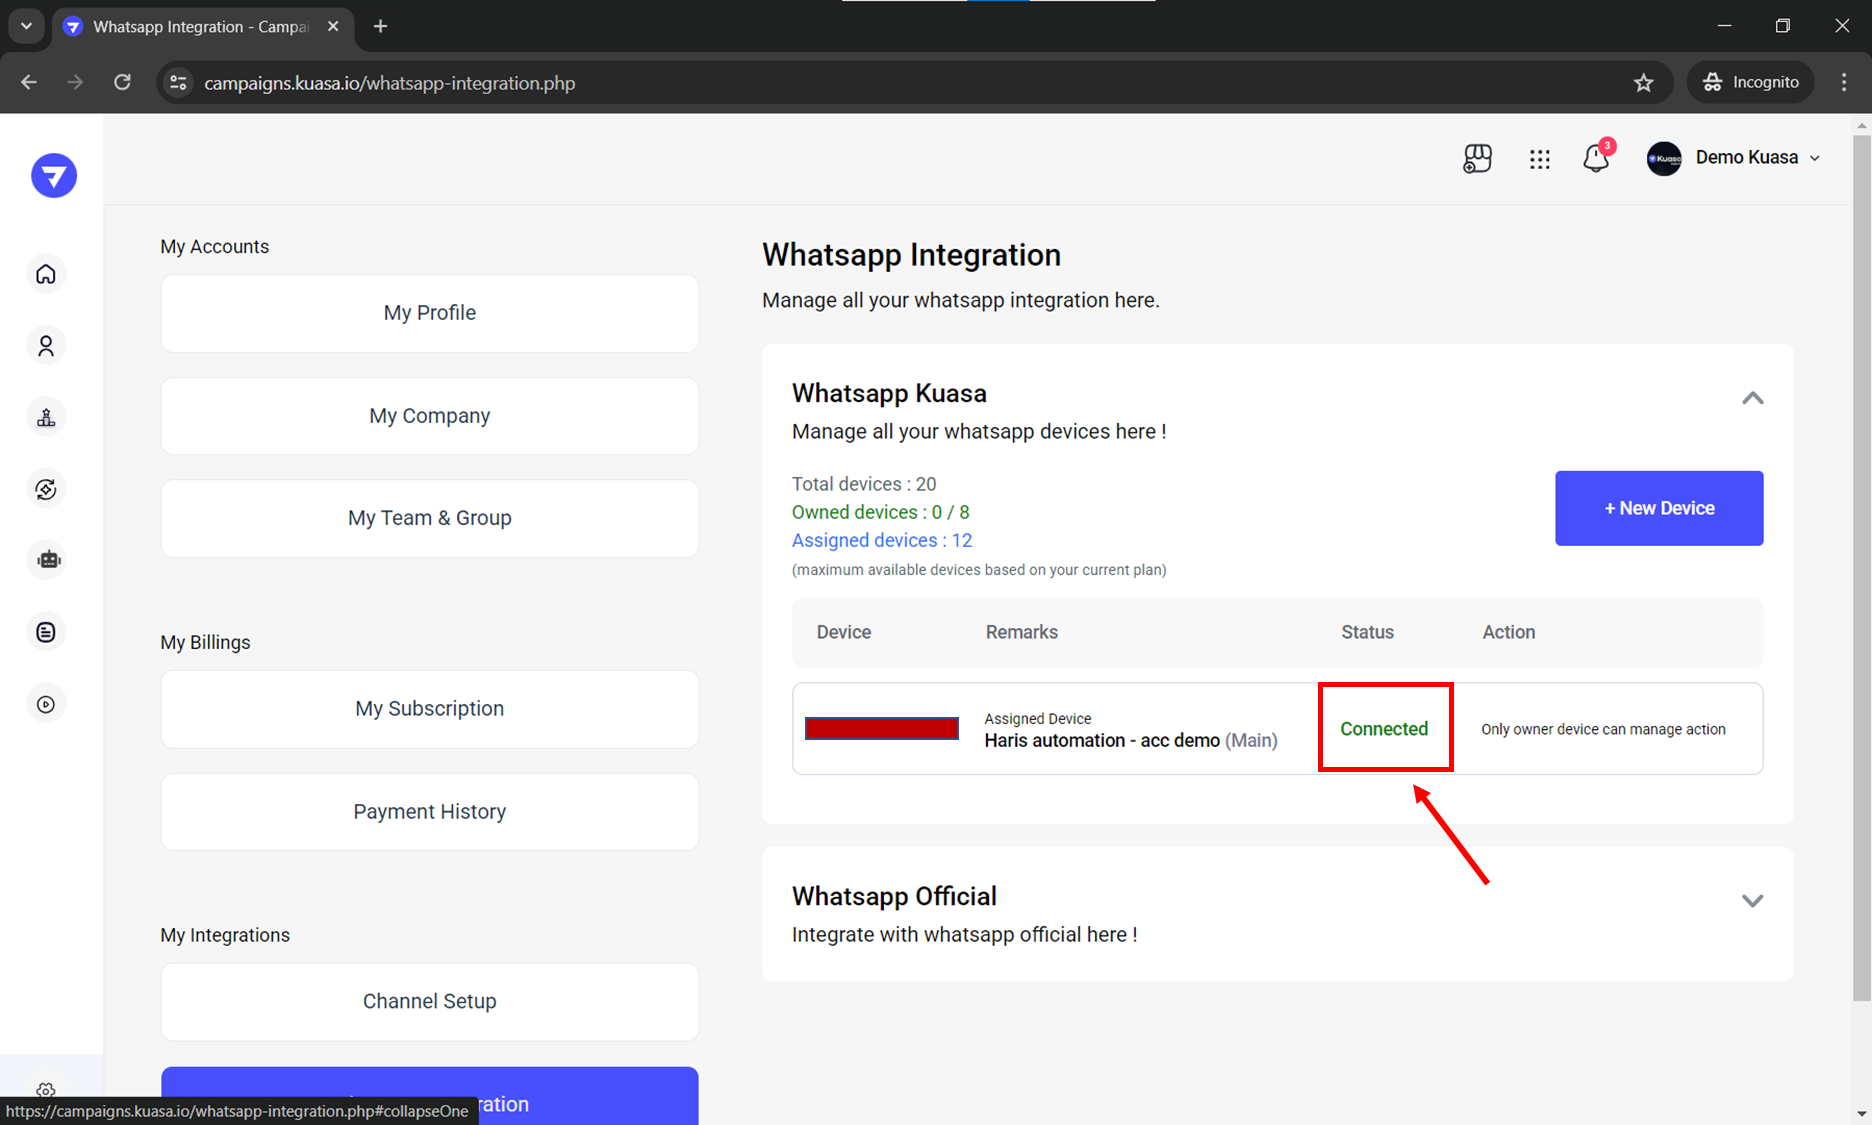
5. Make sure the connection is <mark style="color:green;">**Connected**</mark>.

<figure><img src="https://2425544693-files.gitbook.io/~/files/v0/b/gitbook-x-prod.appspot.com/o/spaces%2F3QW4viTMK6zDjbpEqP2H%2Fuploads%2FdljnKTJQjTTa2I6i2NOV%2Fimage.png?alt=media&amp;token=ce675a76-4a0e-48a1-be12-d399c212a332" alt=""><figcaption></figcaption></figure>

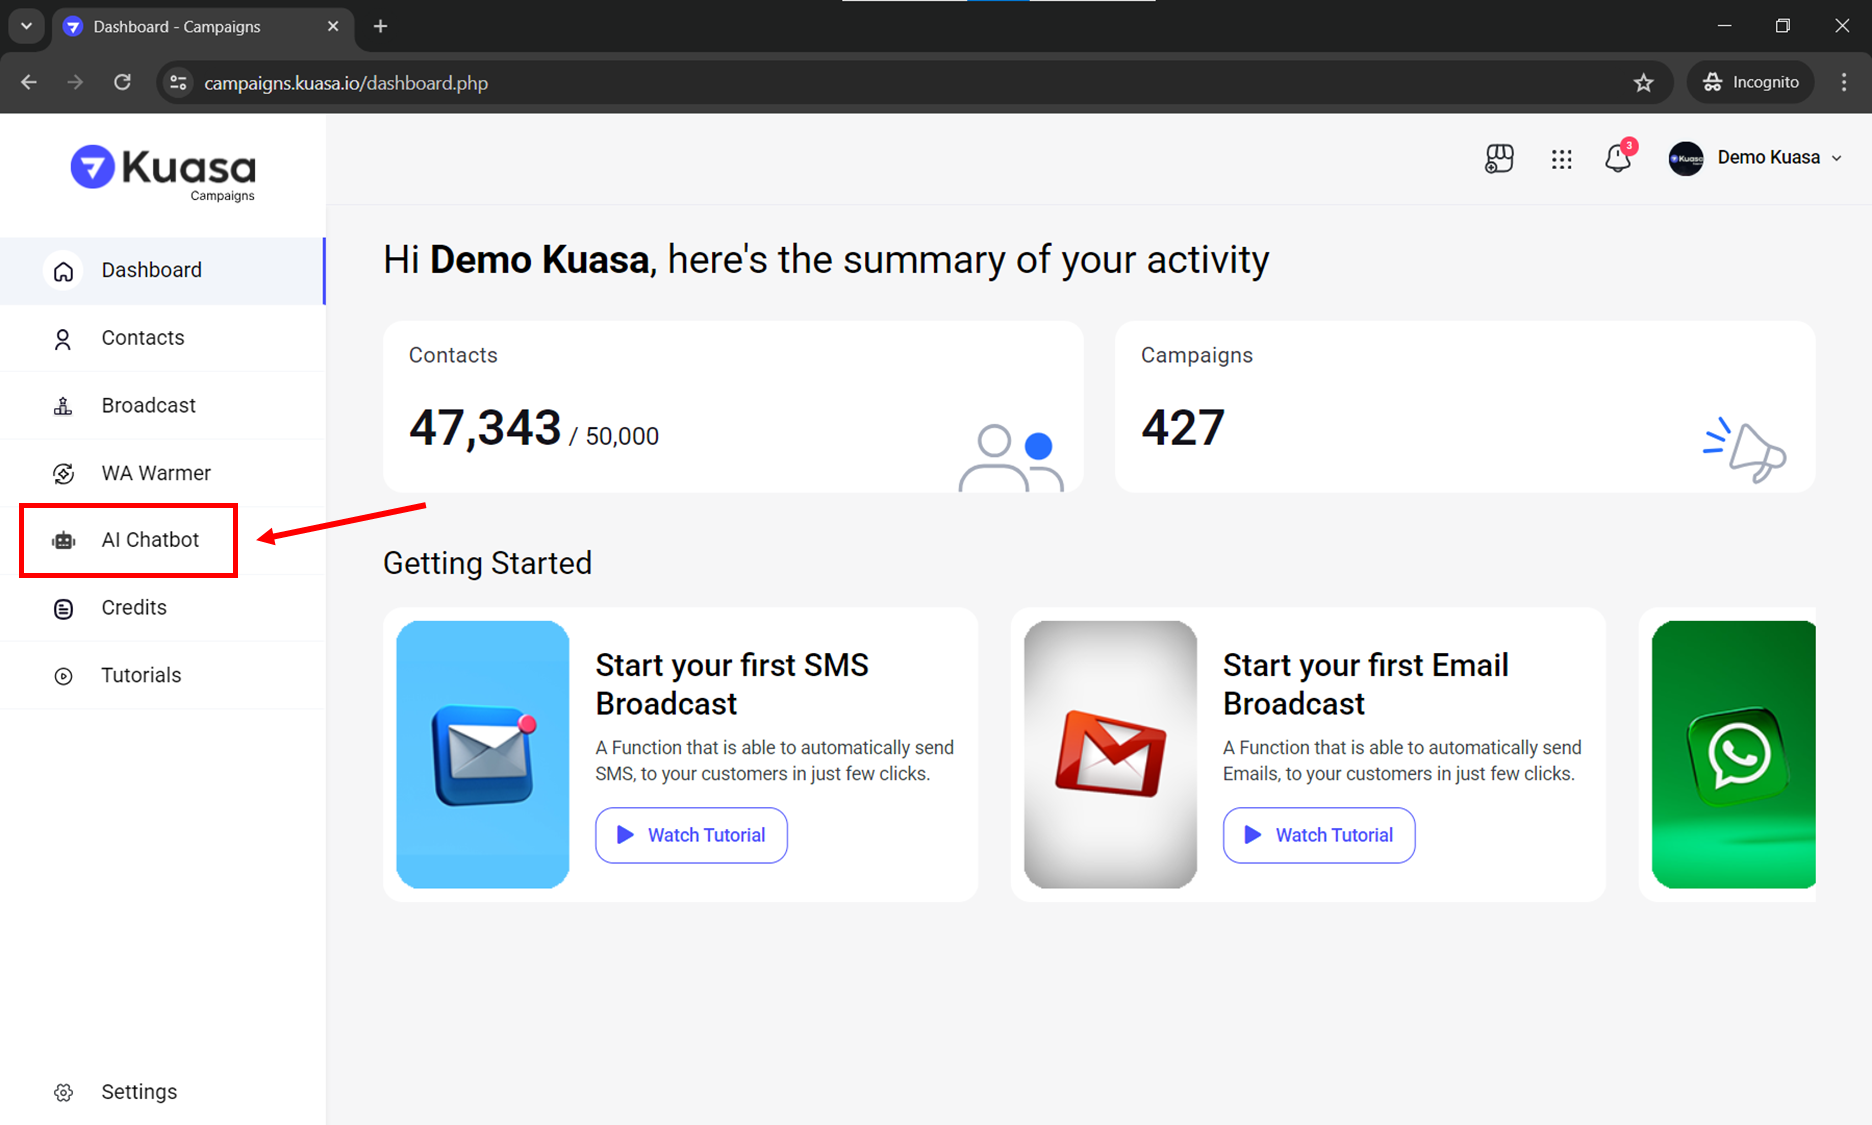
6. Click **AI Chatbot** on left side of your account.

<figure><img src="https://2425544693-files.gitbook.io/~/files/v0/b/gitbook-x-prod.appspot.com/o/spaces%2F3QW4viTMK6zDjbpEqP2H%2Fuploads%2F9XJesHVhla0EbRJiCetW%2Fimage.png?alt=media&amp;token=32aab68b-e080-4c8b-bf4e-0edc2cf689a2" alt=""><figcaption></figcaption></figure>

7. Click **Item List**.

<figure><img src="https://2425544693-files.gitbook.io/~/files/v0/b/gitbook-x-prod.appspot.com/o/spaces%2F3QW4viTMK6zDjbpEqP2H%2Fuploads%2FMLYcvKa8u0m3eDHwcFup%2Fphoto_2025-09-22_16-19-461.jpg?alt=media&amp;token=3c4d41c0-2646-4ff8-8b73-aacd041a69b4" alt=""><figcaption></figcaption></figure>

8. Click the **Chat** symbol under the AI item.

<figure><img src="https://2425544693-files.gitbook.io/~/files/v0/b/gitbook-x-prod.appspot.com/o/spaces%2F3QW4viTMK6zDjbpEqP2H%2Fuploads%2FvcTlf6vbtReTHPMAdglG%2Fphoto_2025-09-22_16-20-231.jpg?alt=media&amp;token=2c2c156a-17c5-40b7-9743-1618b9665256" alt=""><figcaption></figcaption></figure>

9. Search for the contact you want to stop using the AI Chatbot (make sure the contact has recently sent a message to your AI number).
10. As shown in the image below, the status is currently **On**. Toggle the status to **Off** to stop the AI Chatbot for that contact.

<figure><img src="https://2425544693-files.gitbook.io/~/files/v0/b/gitbook-x-prod.appspot.com/o/spaces%2F3QW4viTMK6zDjbpEqP2H%2Fuploads%2FKOJ6yDmfnxdUdr0RbkVK%2Fphoto_2025-09-22_16-20-301.jpg?alt=media&amp;token=5a108734-6a3f-4271-a2f1-92dfe8b18f0e" alt=""><figcaption></figcaption></figure>

**Other Alternative**

Besides the settings above, you can also set specific keywords for customers to start or stop the AI Chatbot easily.
<figure><img src="https://2425544693-files.gitbook.io/~/files/v0/b/gitbook-x-prod.appspot.com/o/spaces%2F3QW4viTMK6zDjbpEqP2H%2Fuploads%2F94BPZqrnddJN1cTsYFiX%2Fphoto_2025-09-19_16-11-312.jpg?alt=media&amp;token=9c5d9d4a-c11b-4b85-a594-d51518e9844e" alt=""><figcaption></figcaption></figure>