> For the complete documentation index, see [llms.txt](https://tutorials.kuasa.io/getting-started/llms.txt). Markdown versions of documentation pages are available by appending `.md` to page URLs; this page is available as [Markdown](https://tutorials.kuasa.io/getting-started/kuasa-crm-pipeline/projects/setup-leads-rotator.md).
# Setup Leads Rotator
Setup Leads Rotator in CRM Pipeline
1. Open the CRM Pipeline.
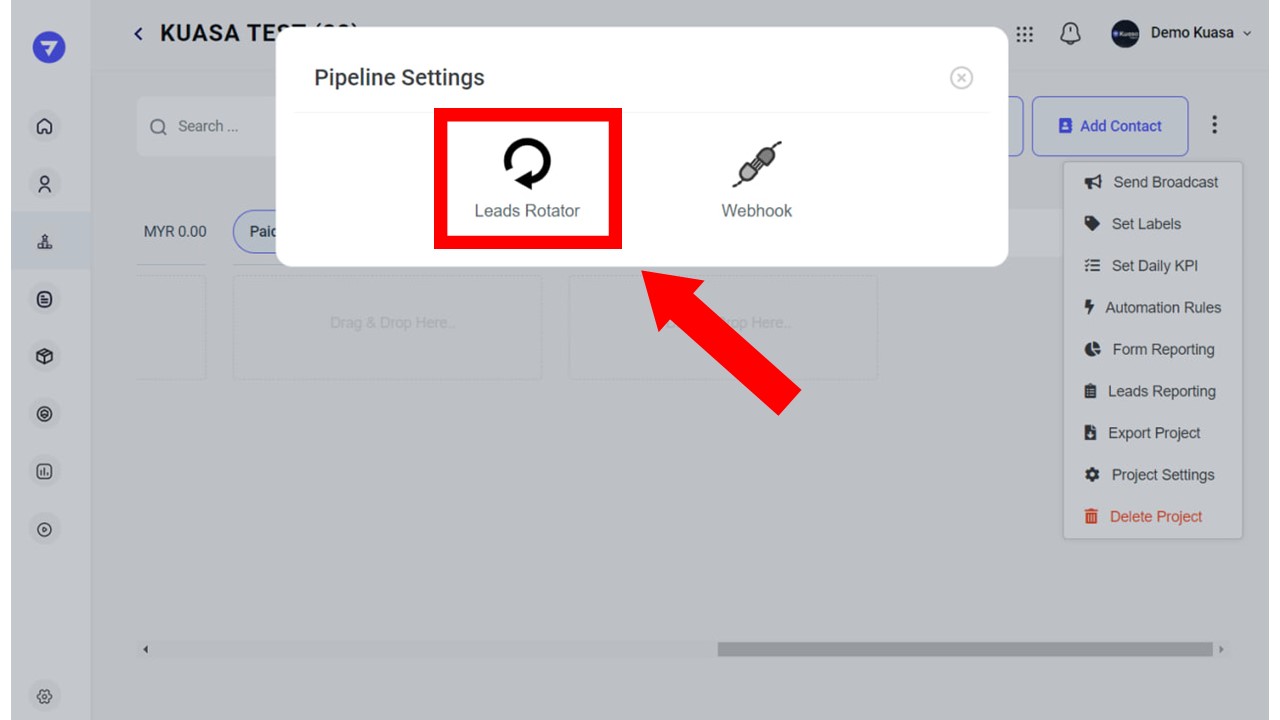
2. Open the project where you want to set up the leads rotator.
3. Click the three dots (top right).
4. Choose **Project Settings** and then **Leads Rotator**.
5. Click the **+ Add New** button to add a team member, then select the team member's name.
6. Set the percentage of leads for each team member (please ensure that the total is 100).
7. Click **Save Changes**.
8. Click the **Edit** button.
9. Set the **Leads View** part based on your preference.
10. Click **Save Changes**.
**Good job!** You are already done setting up the leads rotator. The database will be assigned to the selected PIC every 5 minutes.